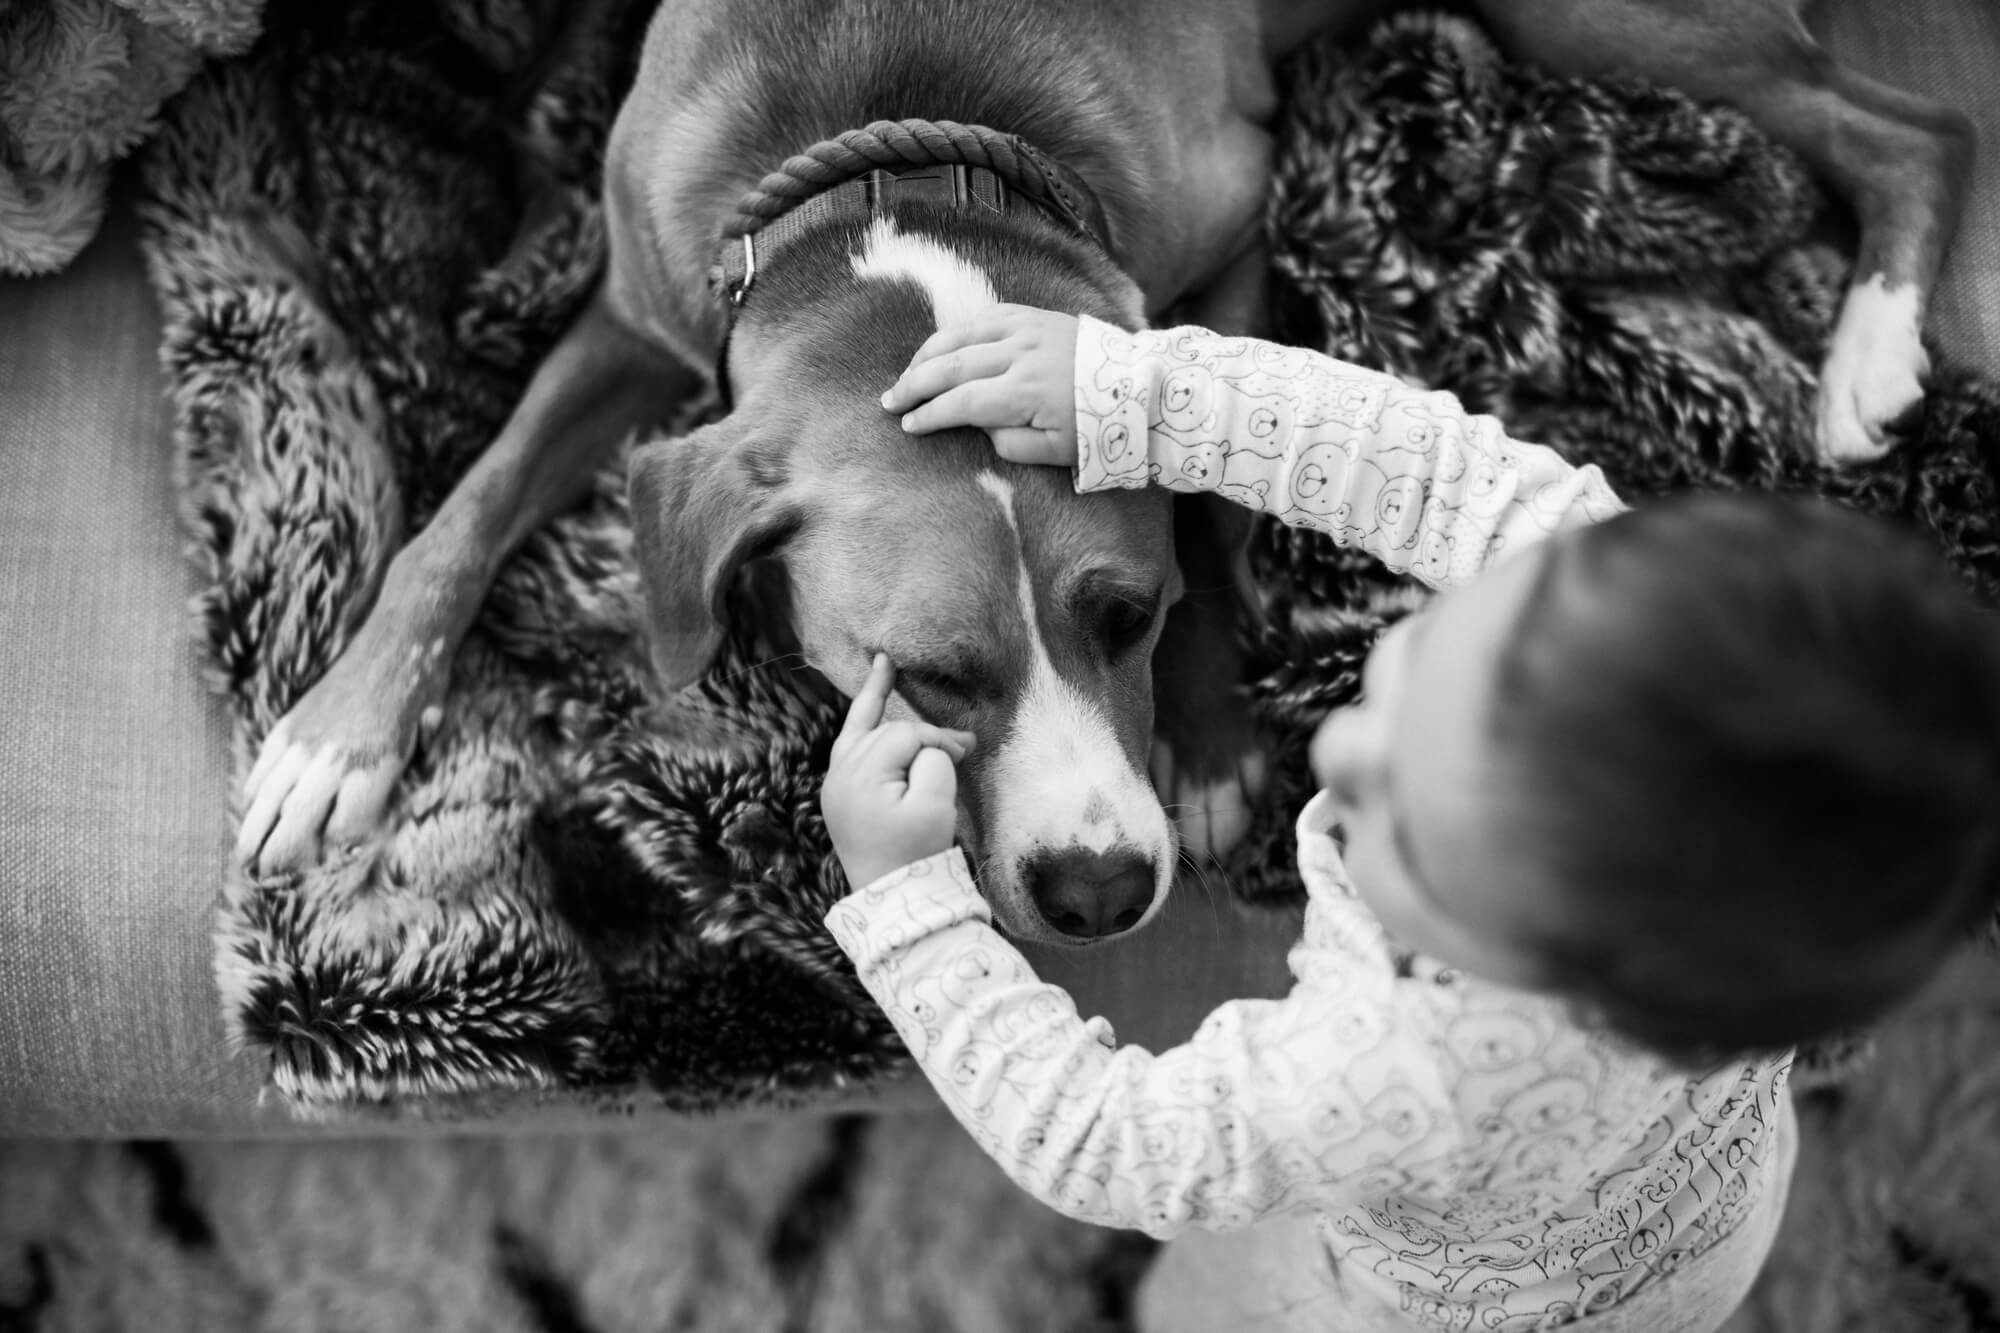
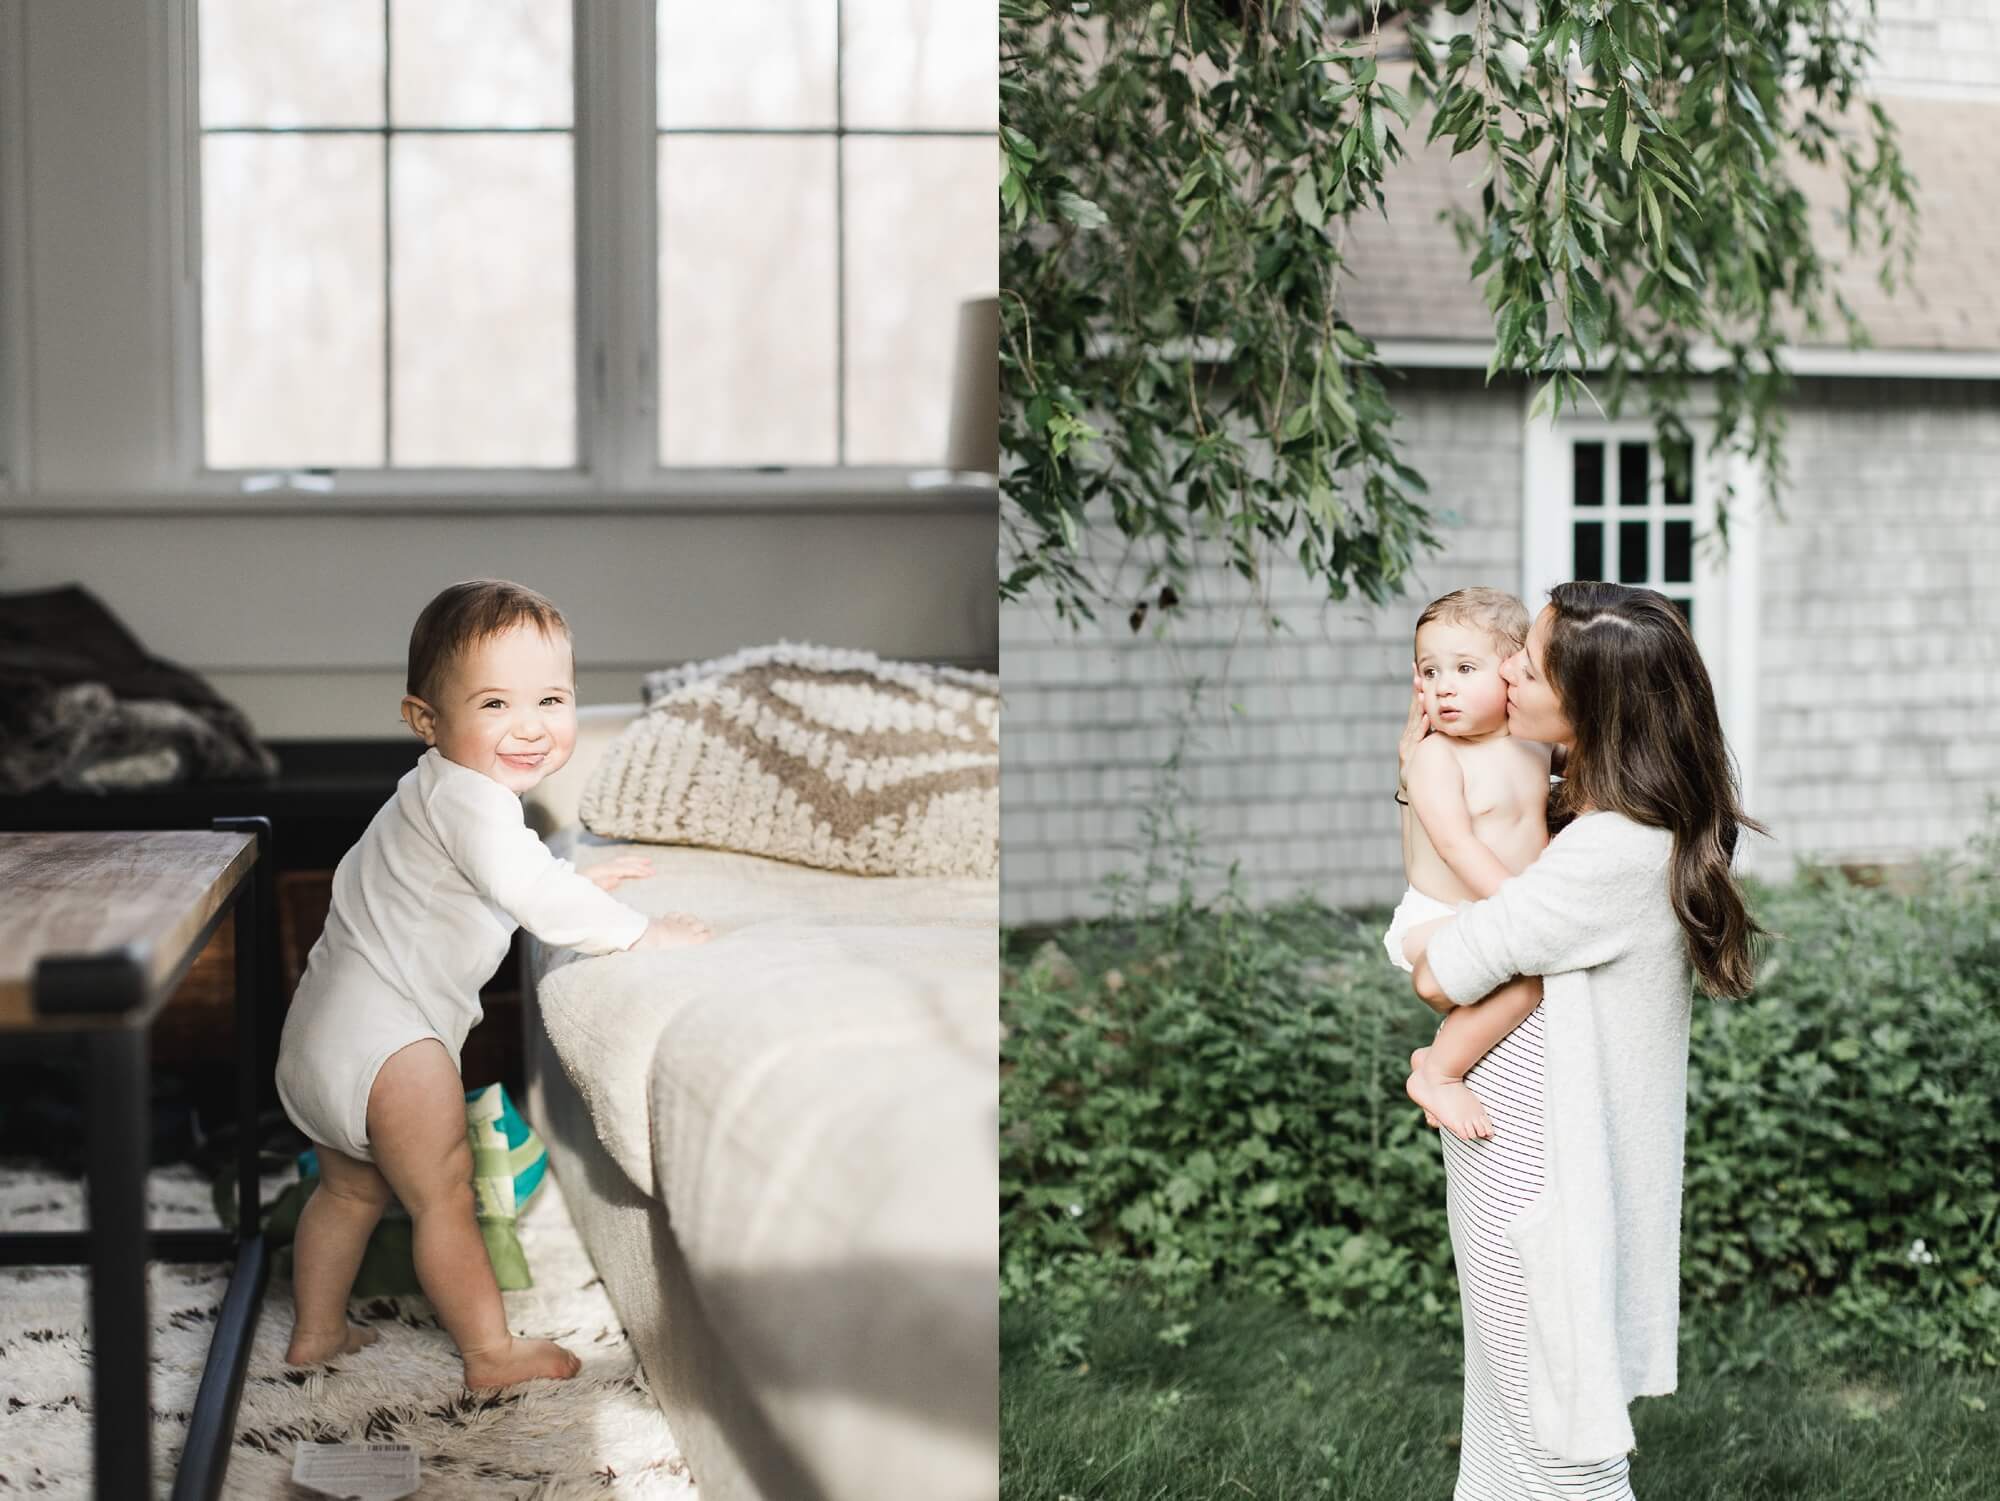
Being a photographer, wife and mom of two sweet boys has led me to always keep one camera nearby semi charged with a memory card just in case there’s a sweet moment, most likely with our loving pup. Weeks go by where I don’t use my camera at all, especially during the busy wedding season, but it’s there just in case. On the days when I’m home with my boys, there’s an even greater chance that you’ll find me chasing Julian around with my camera while begging him to kiss his brother for a sweet snap. It’s not easy but you better know I try!
As difficult and time consuming as it is, I truly believe it’s worth finding the time to preserve the images I take. I do want to mention first and foremost, I am always behind and knee deep in images but in my mind, it doesn’t matter as long as I meet my goal and try not to fall too far behind.
What’s my goal? To organize all of the images I capture with my camera on my hard drive, edit these images, upload them to an online gallery and create a hardcover book with my favorite images for myself, my parents and my in-laws for each year that flies by. My goal is to have these books created in time for Mother’s Day or Father’s Day the following year. I have two successful years down and I hope it continues for many years to come.
If you’re looking for iPhone organization…this is not that. I have yet to master my iPhone photo organization. I find myself taking more videos with my iPhone, which I treasure dearly and can find backed up to my cloud, thankfully. The good stuff, to me, is what is taken with my camera.
What cameras do I use? I have two cameras I use for family: my Canon 5D Mark IV and my Fujifilm X-T10 digital camera. I use my lighter more compact Fujifilm on family vacations and especially at the beach. I use my Canon for everything else and yes, I still take it with me on vacations.
When do I take pictures? Around my house, as mentioned above, at holidays, random family adventures such as apple picking or ice cream visits, vacations, birthdays and weekends away. Even if it doesn’t feel like you take many, quality is better than quantity and these images are still worth preserving.
When do I organization the images? I try to keep up to date throughout the year on the steps below the best I can (i.e. I have my 2018 gallery started and already 19 subsets) but I always fall behind during my wedding season. I finish looking through/culling the images and editing my personal photographs during my off-season December – April.
Who will benefit from this system? Below is the system that I use and continue to modify to organize my personal photographs. This post is more for the professional photographer who is overwhelmed by the family images they take and don’t know how to organize them. For me, I feel secure knowing my images are on a hard drive, online gallery and a book. They are preserved and protected. They are shared and praised.
Photography is a gift that I try to never take for granted. It’s incredibly fulfilling to use my gift and share it with my friends, my family, and most importantly, my boys and the generations to follow.
So here we go!
Step 1 – Organize photographs after you take them
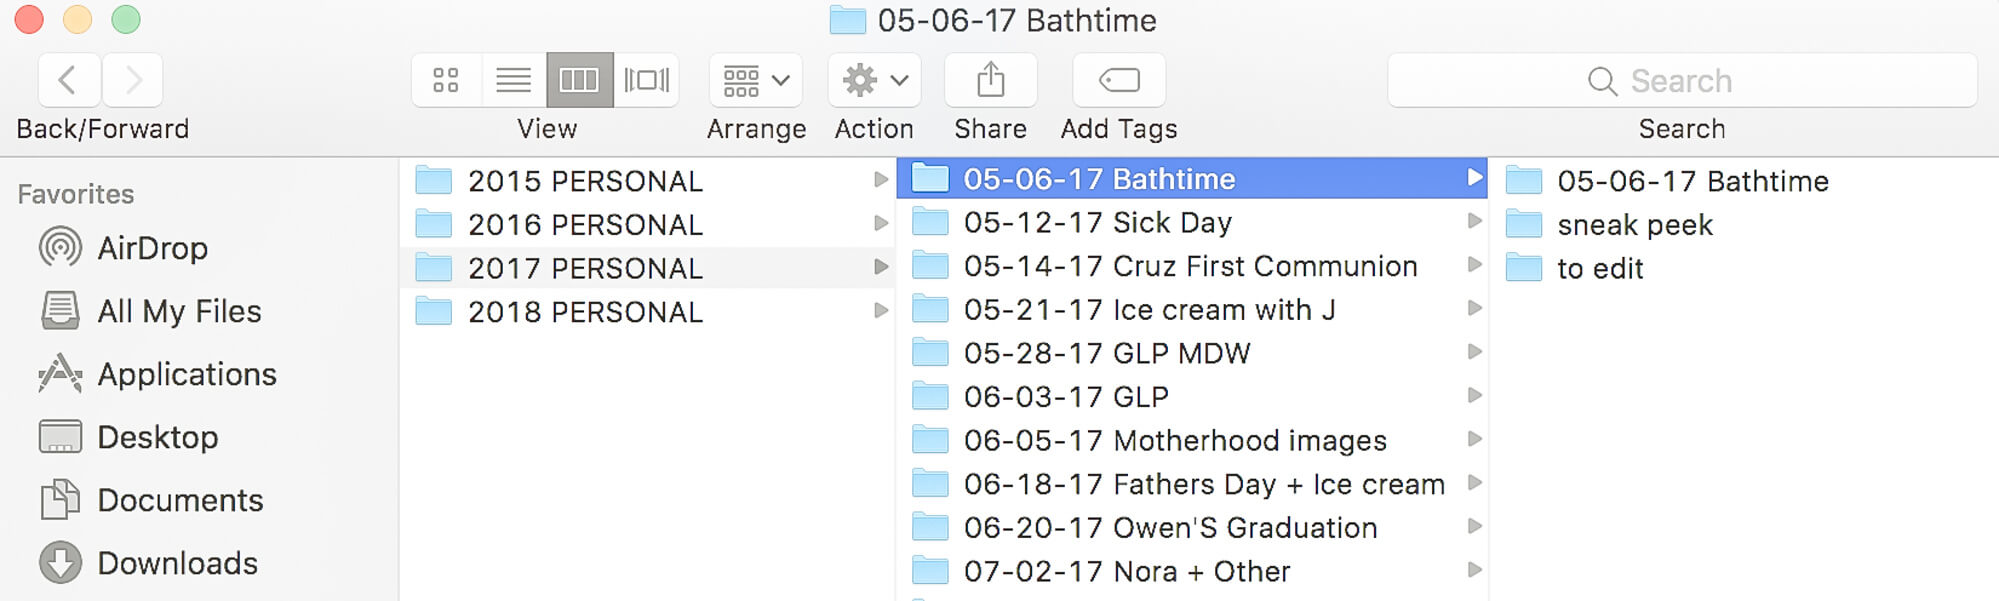
At the end of the day after I’ve used my camera, I import the images from my memory card to the single hard drive that holds all of my personal files. Having a chronological naming scheme for your personal images is key.
I create a folder for each year and within this folder, I create a folder for each “session” that takes place. These subsets are named by month-day-year and title of the session, which is usually the location or event. I copy this title and create another folder within this subset, which will contain all of my raw files. Try to do this timely so you don’t forget about the images or accidentally delete them on a memory card. See an example below:
Step 2 – Cull the images
Using Photo Mechanic (an organization tool), I flag the images that I want to edit. I create a separate folder and label it “To edit,” as shown in the screen shot above.
Step 3 – Import into Lightroom
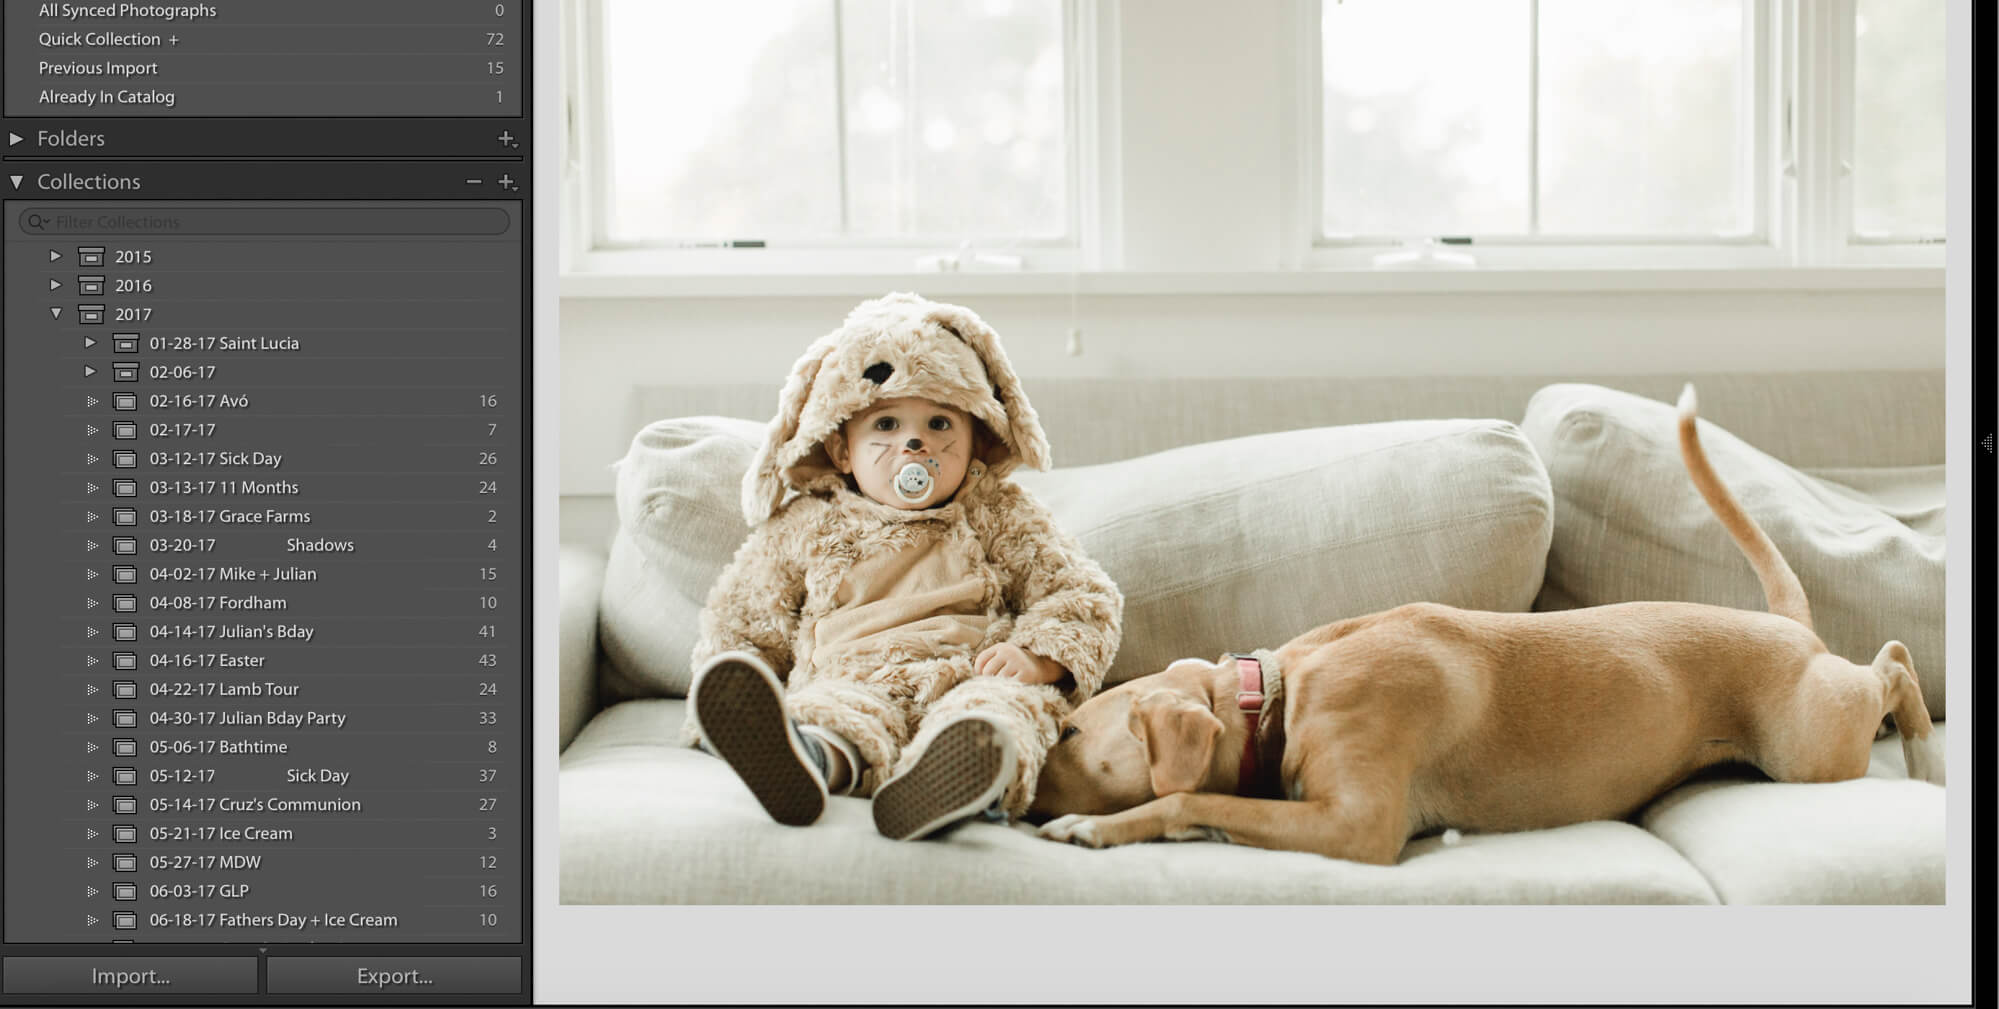
I import the images from the “to edit” folder into Lightroom. I use one catalog for all of my personal images; however, I really should use a new catalog for each year. Sigh. One day.
In Lightroom, I have a collection set for each year. When importing new personal images, I create a new “collection” within the current year set organized by month-day-year and a matching title to my hard drive folder created. I import the images from the “to edit” folder to this collection.
Step 4 – Edit images
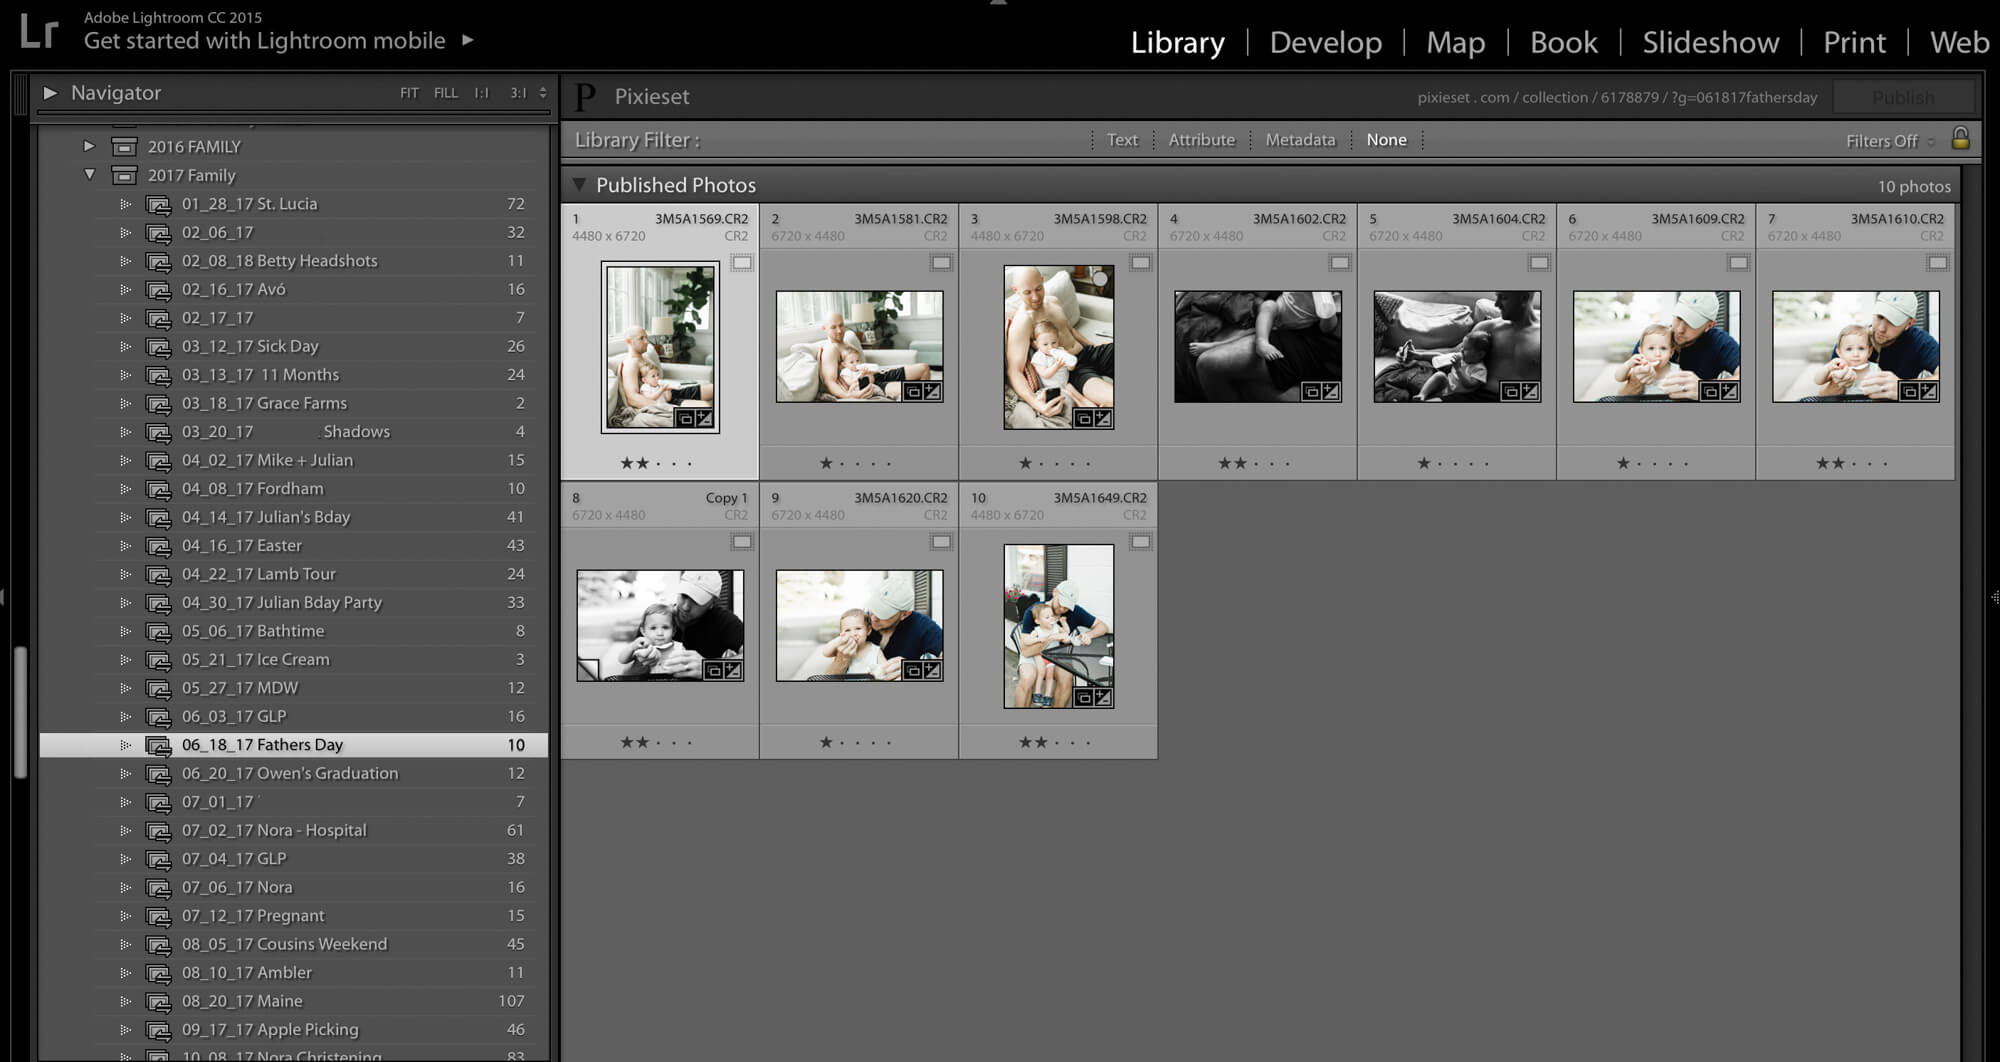
I edit the images within the collection. After I’m done, I rename the photo filename using the same naming convention as the collection title name, “month-day-year title”. To rename a file, make sure you’re in Library mode. Highlight the images you’d like to rename, on the top of the screen, go to Library –> Rename Photo. I always rename my images under the option, “Custom Name – Sequence.”
Step 5 – Drag images to Pixieset Plugin
Make sure you download the Pixieset Plugin here. You will find the Pixieset Plugin at the bottom of the panel on the left while in Library mode. Log into Pixieset. Right click on Pixieset and create a new collection. I have one collection for each year, which is equivalent to one online gallery. Create a new collection set to be a subset in your annual collection and use the same naming convention as the collections within Lightroom and hard drive. Drag the images from your Lightroom collection to your new Pixieset collection. Click Publish.
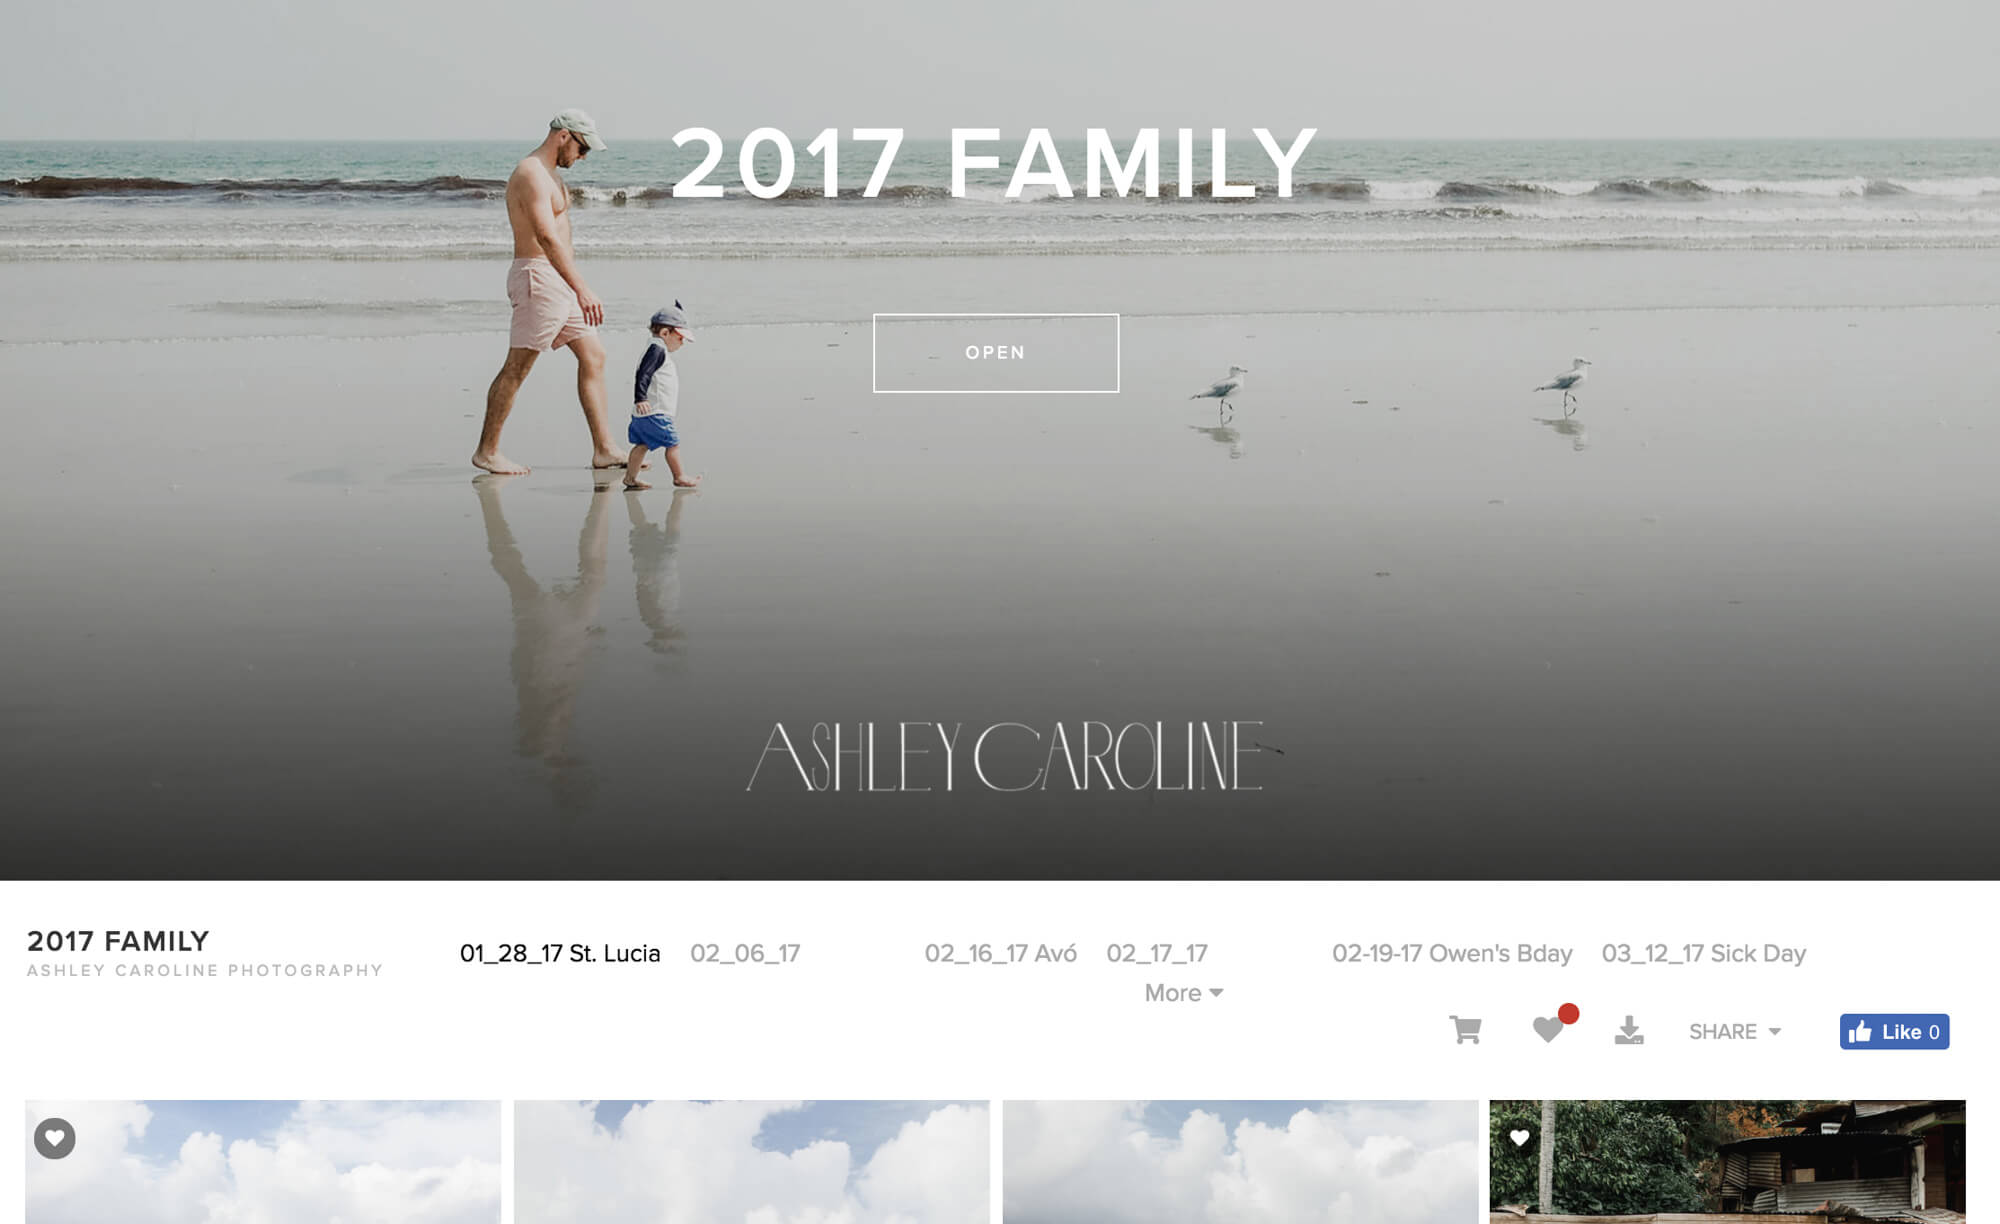
Step 6 – Log into Pixieset
After publishing the collection, a new online gallery is created in Pixieset. Log into your account in Pixieset in a web browser. Make sure each collection set is sorted by file name (when in the collection, go to the top right corner, Sort by –> Filename).
I repeat these steps each time I photograph my family. Obviously, I fall behind but I try to at least upload my files from my memory card to my hard drive so I can reuse the memory cards and don’t accidentally delete the images (step 1). I usually edit most of my personal images during the off season.
Step 7 – Choose images for your book
I log into my annual pixieset gallery and favorite images from each collection set for our annual family book. I have three separate favorite image folders because I make one book for our family and a smaller book for my parents and in-laws. I treasure these books and I know the price tag is steep but it’s worth it to go with Artifact Uprising, especially when they are having a sale. From there, I design the book in Artifact.
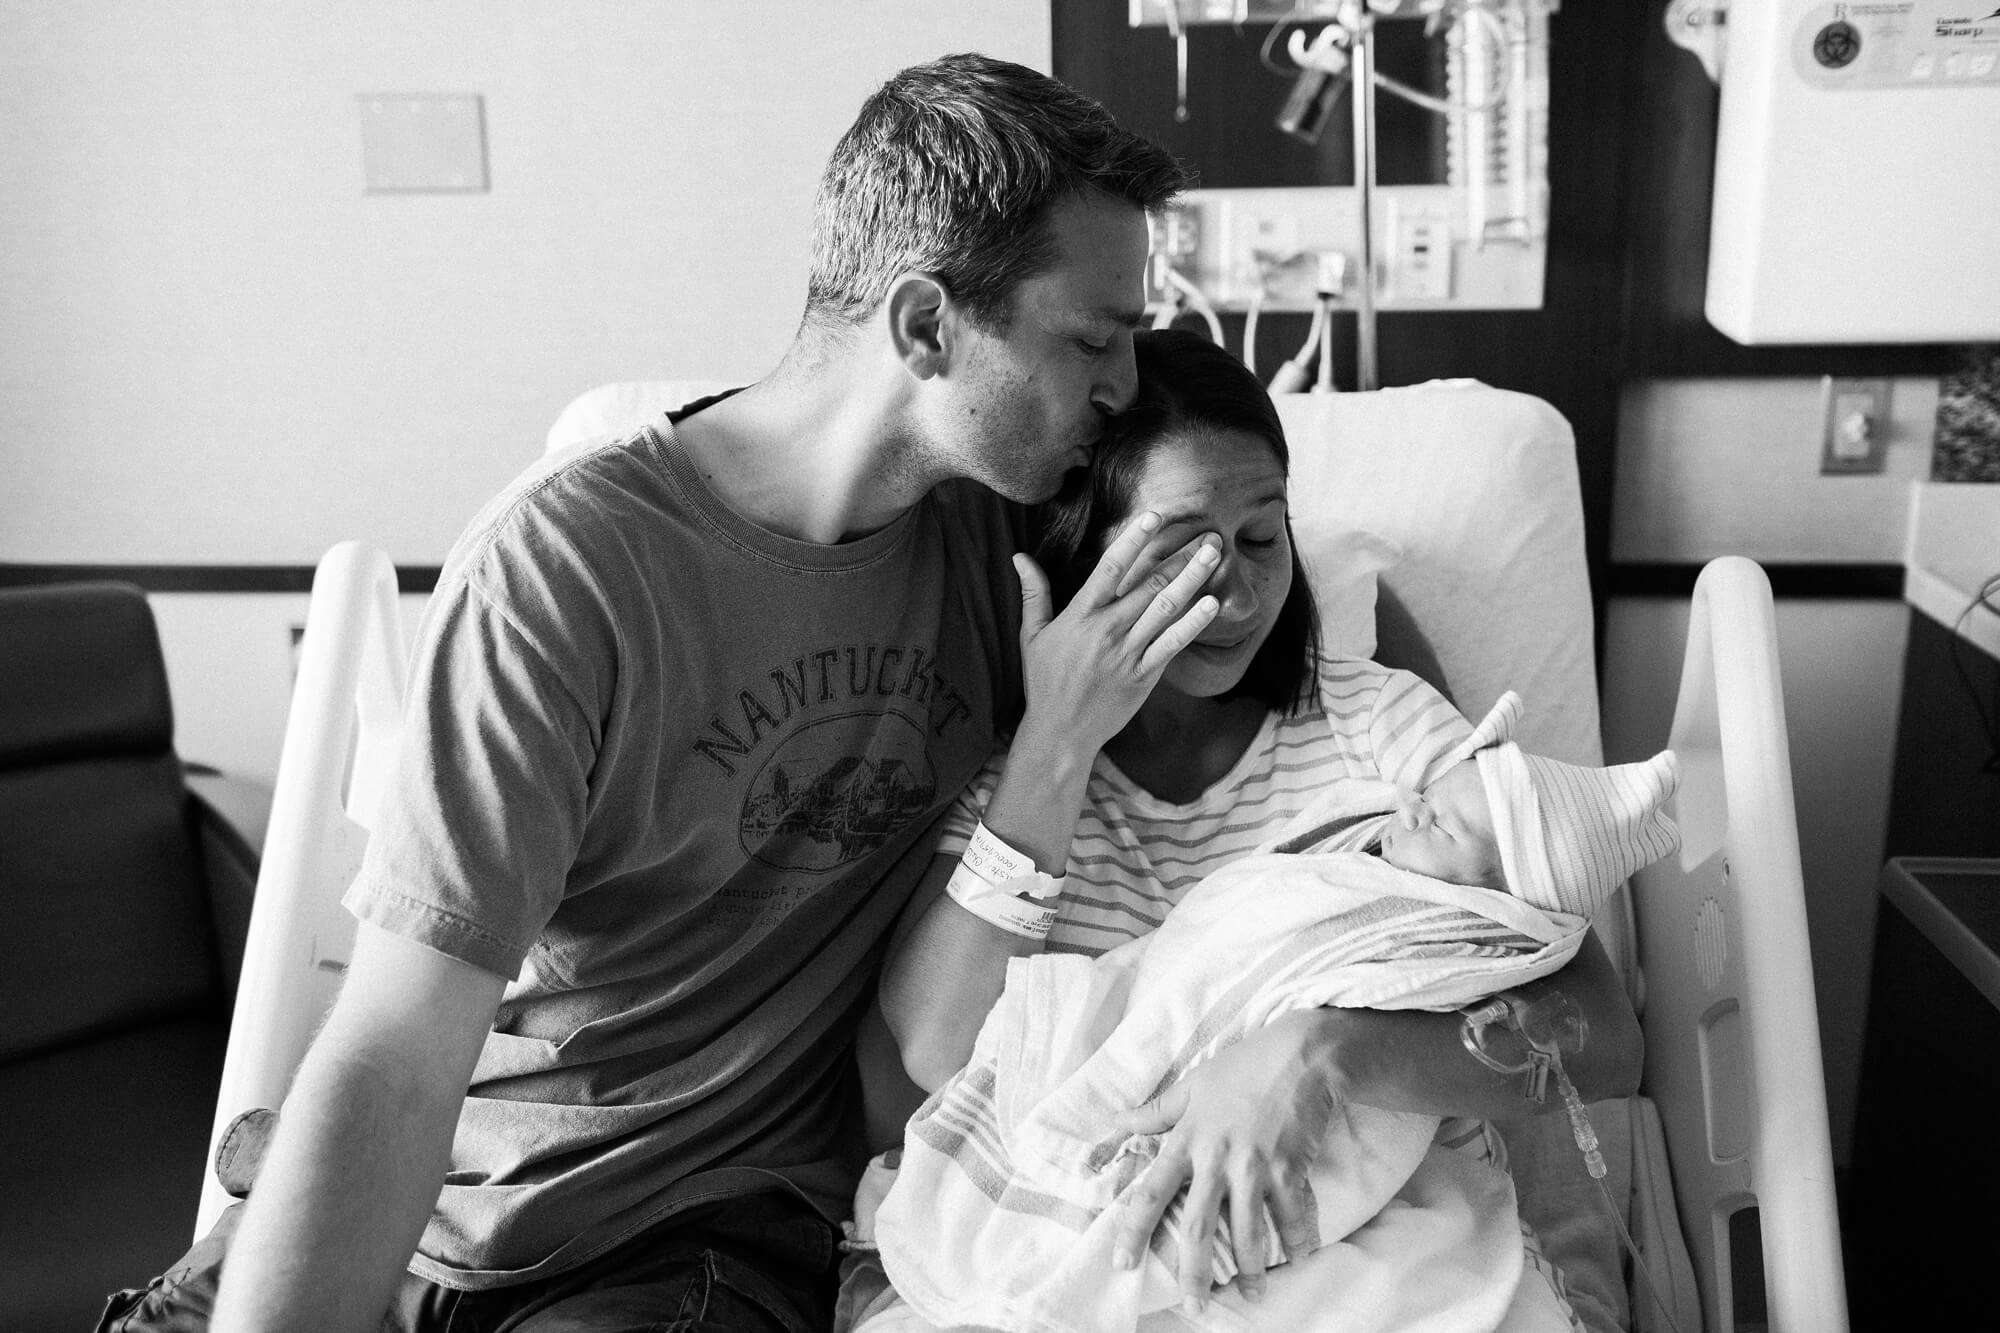
The past two years, I’ve made the book in April of the following year. To put things in perspective, Warren is 3.5 months old born on January 5, 2018 and is not in my latest book. Unless you count him in my belly! 😉 As tempting as it is to include him in our 2017 book, we’ll just have to wait to see his beautiful face in our 2018 book. By the looks of my 2018 online gallery, he’ll be in it A LOT. 🙂 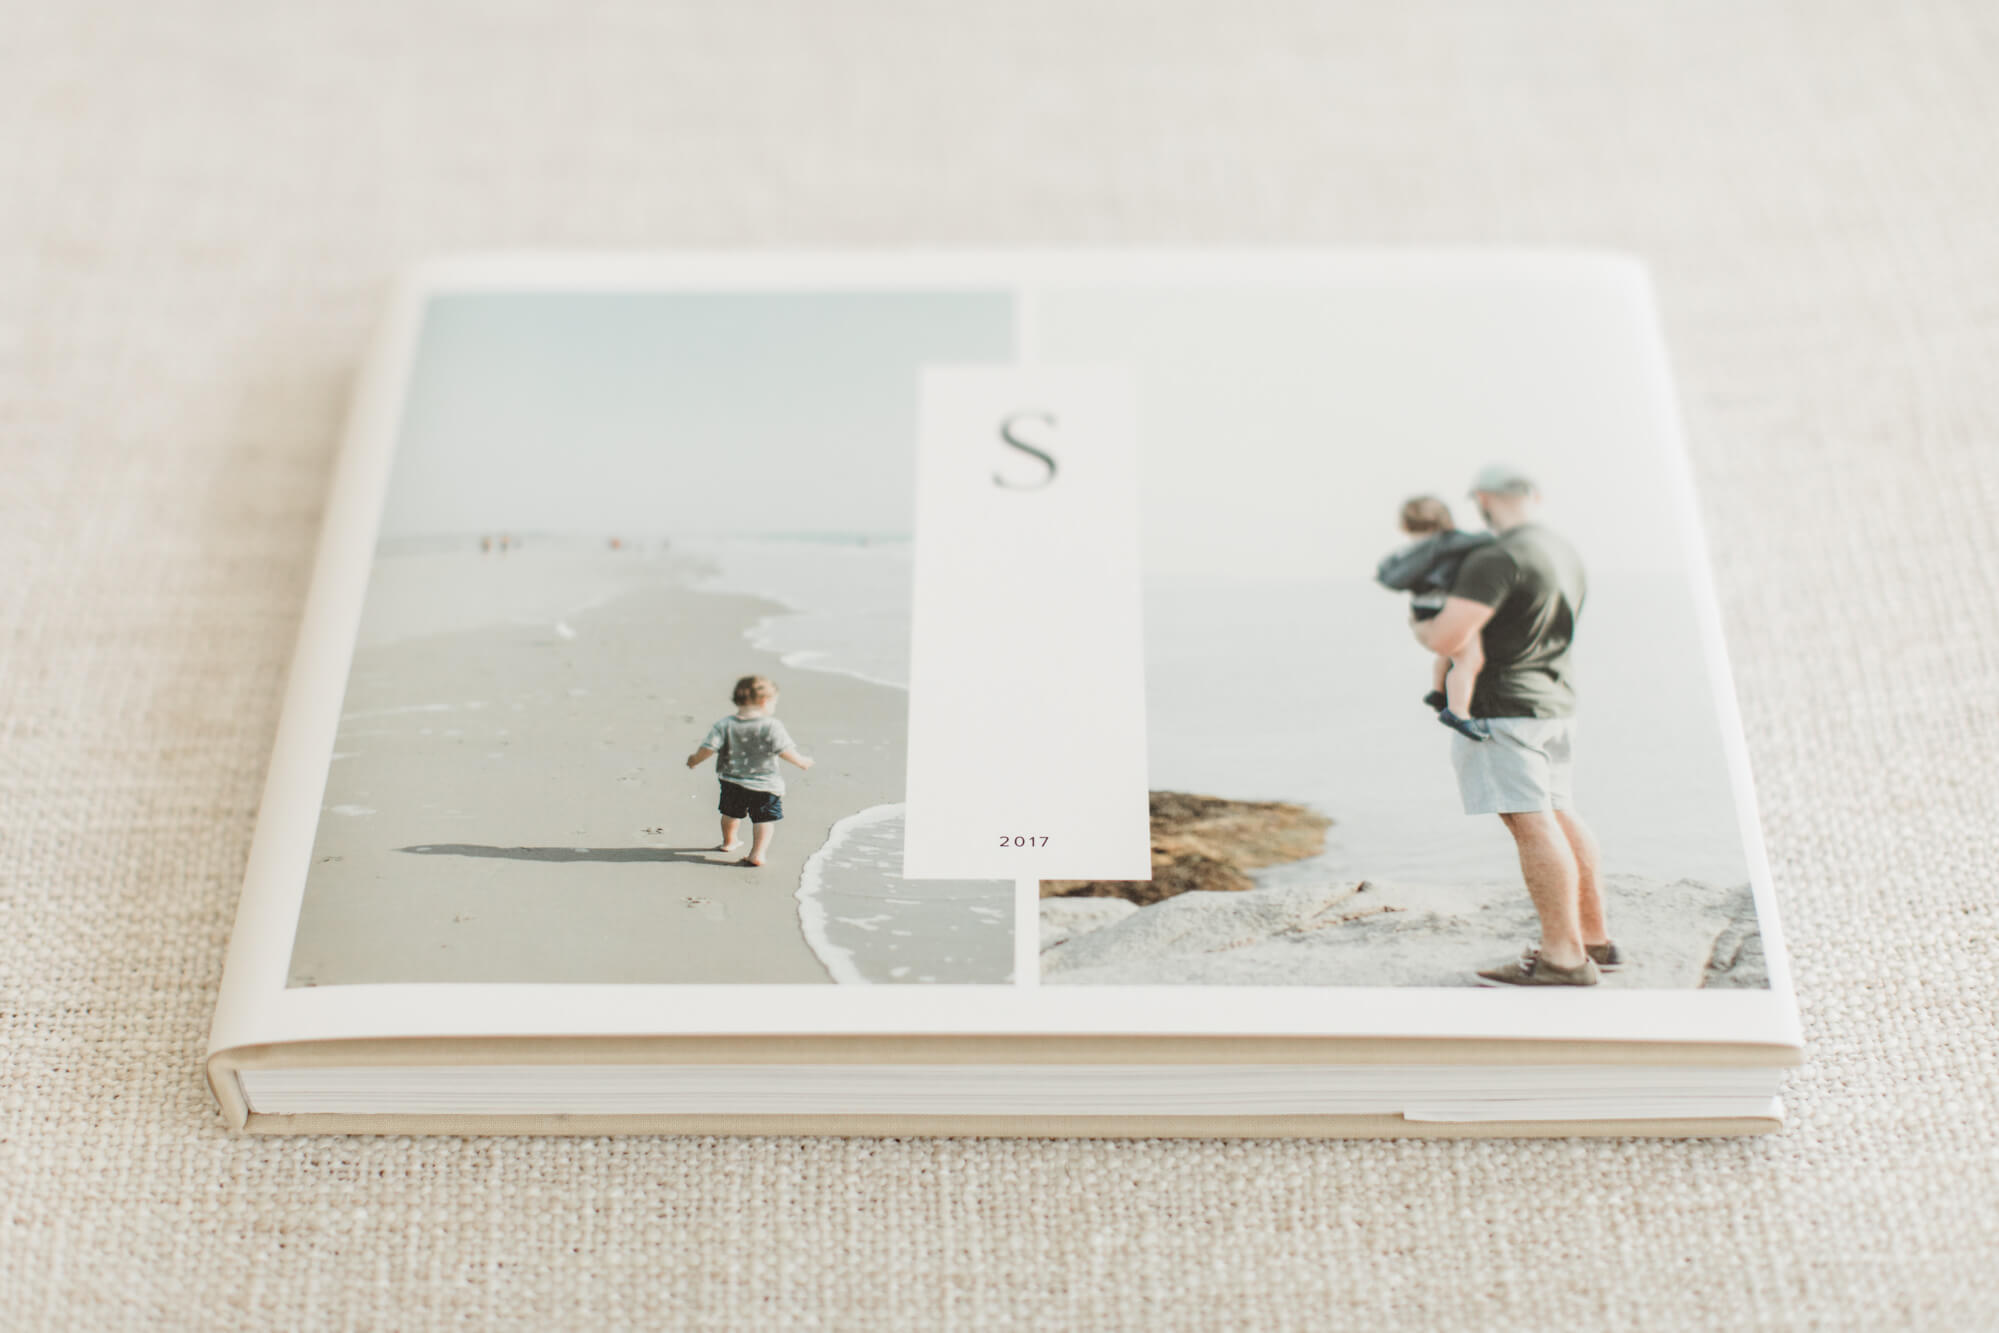
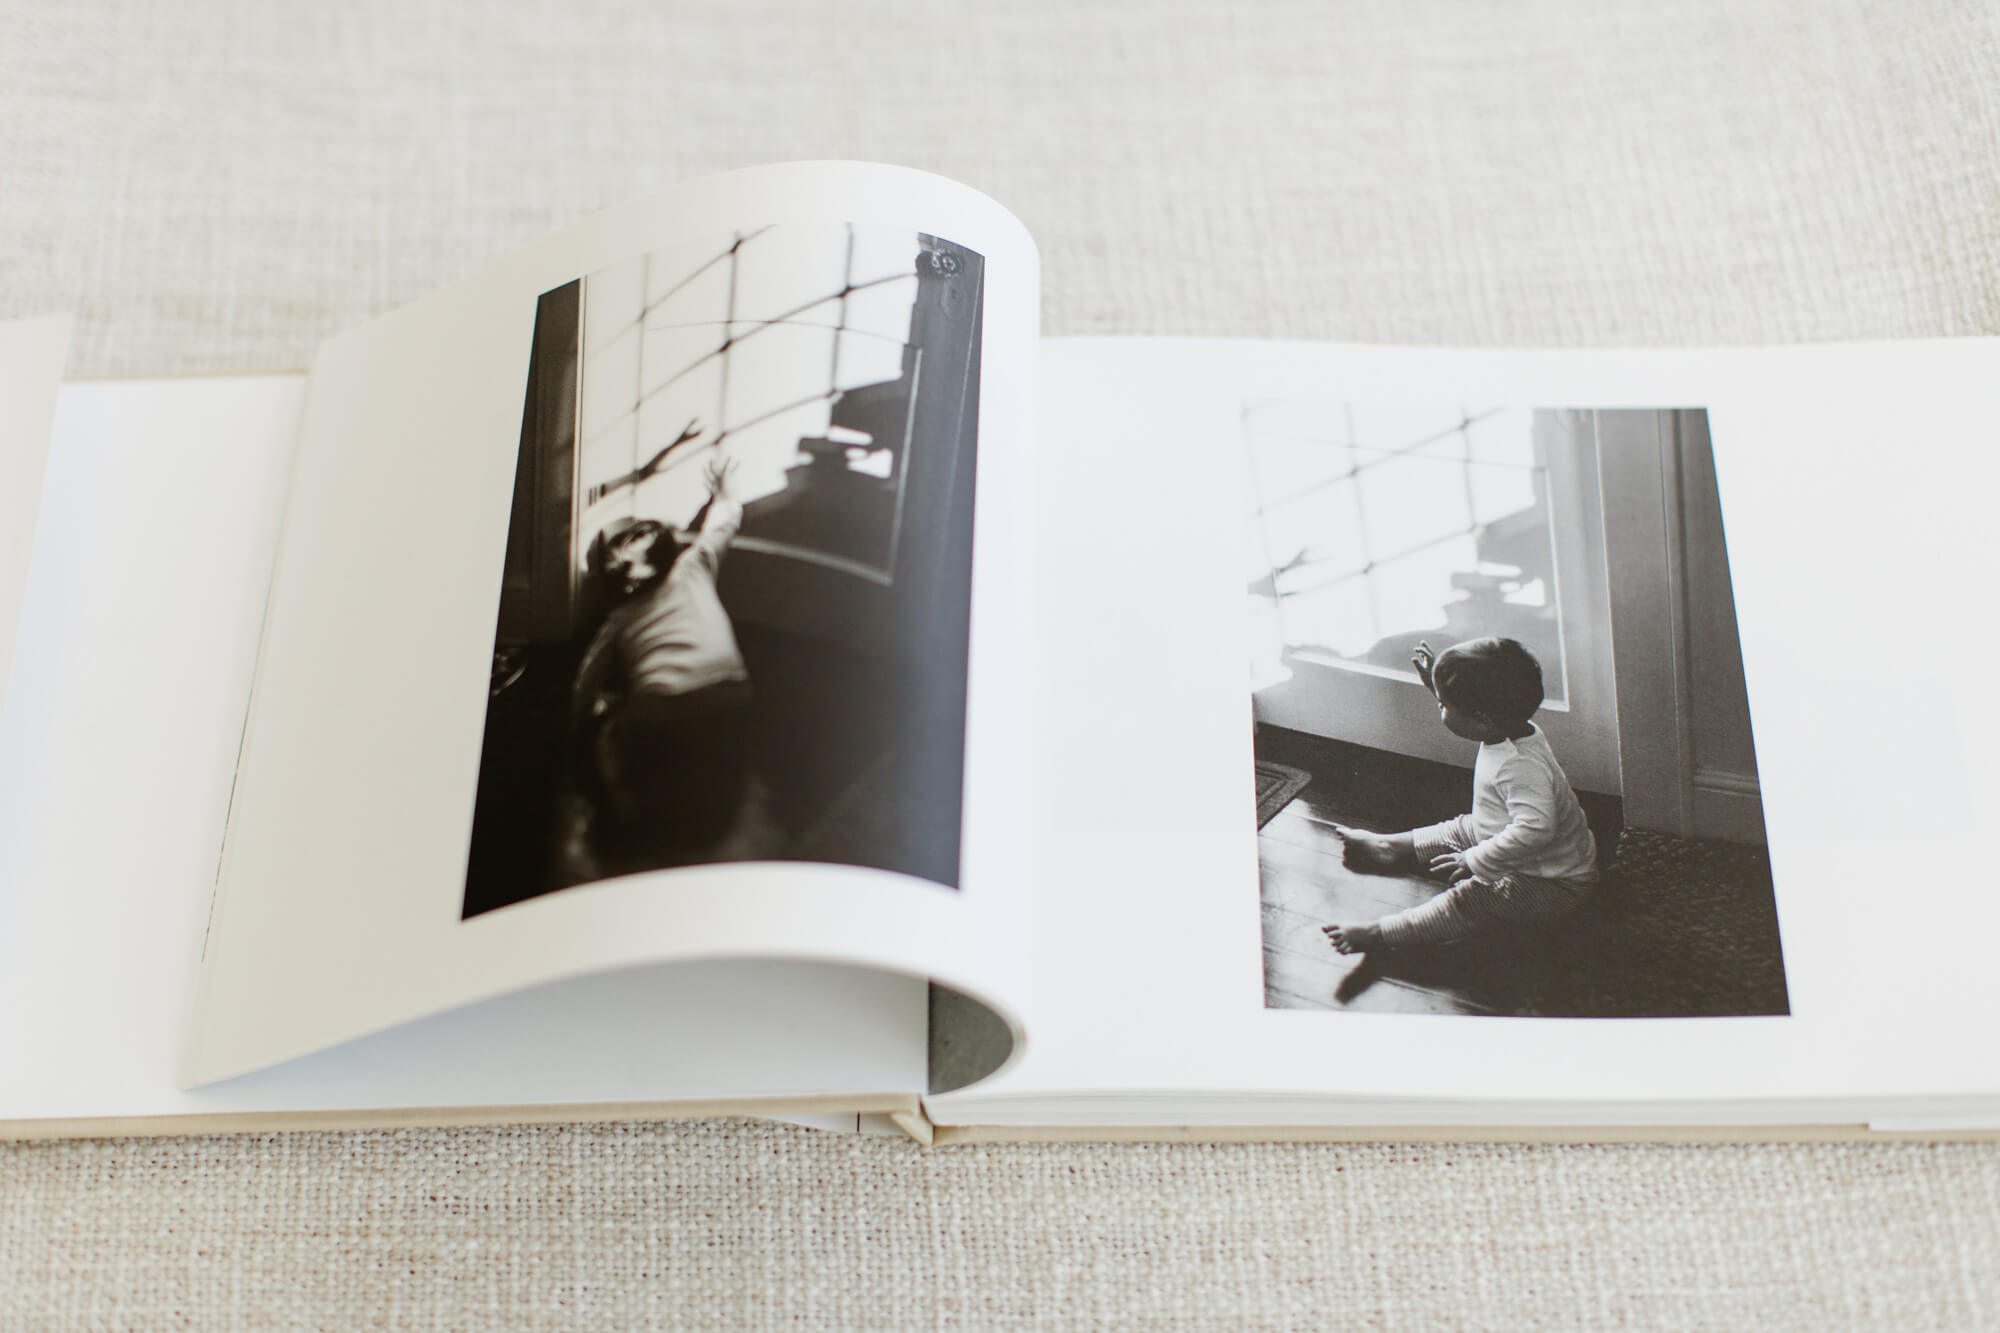
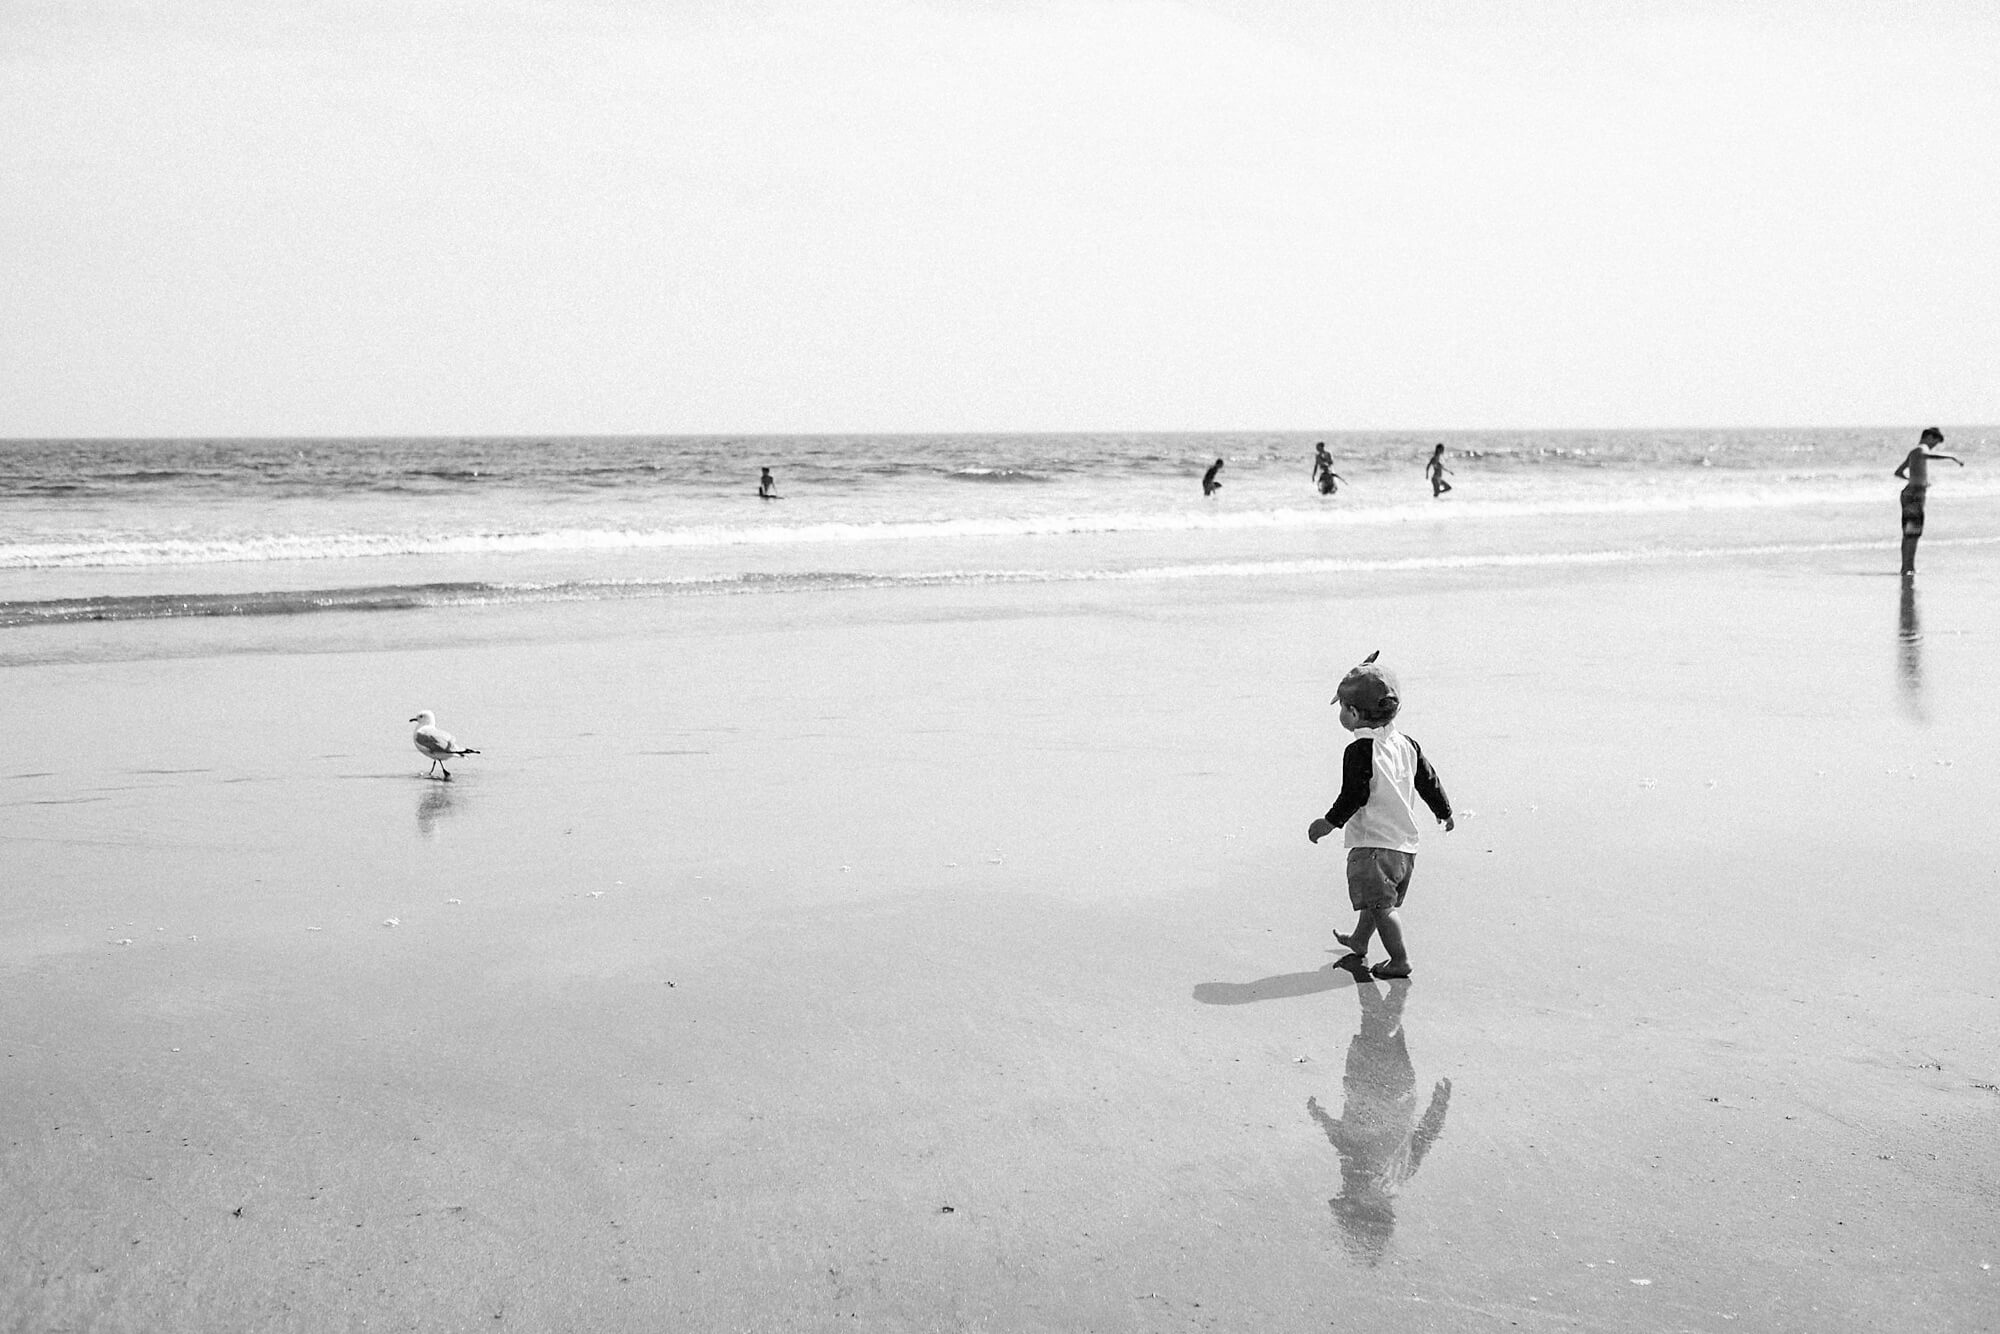
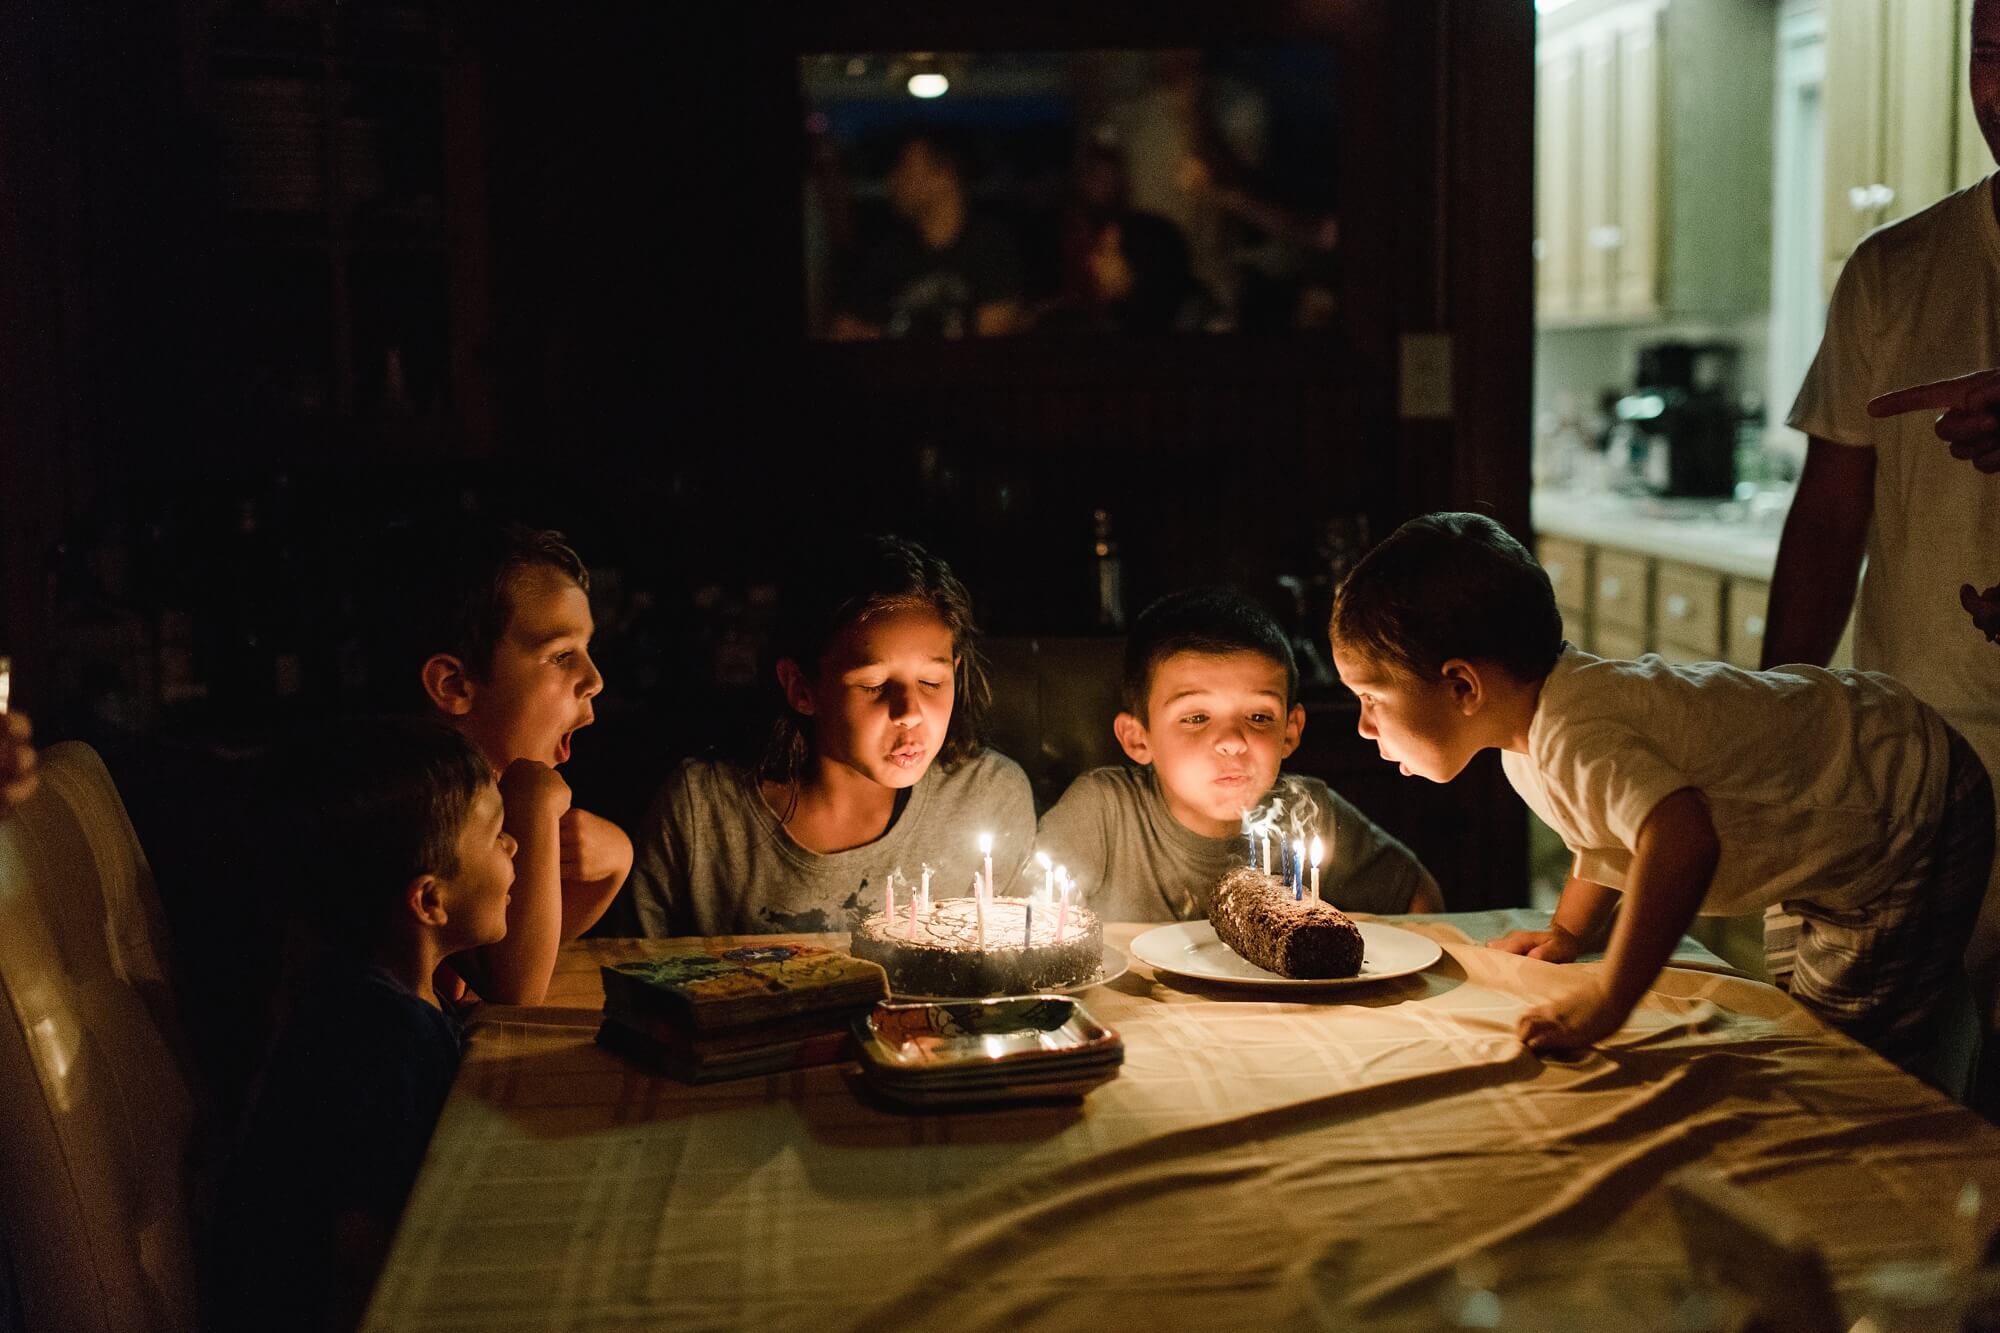
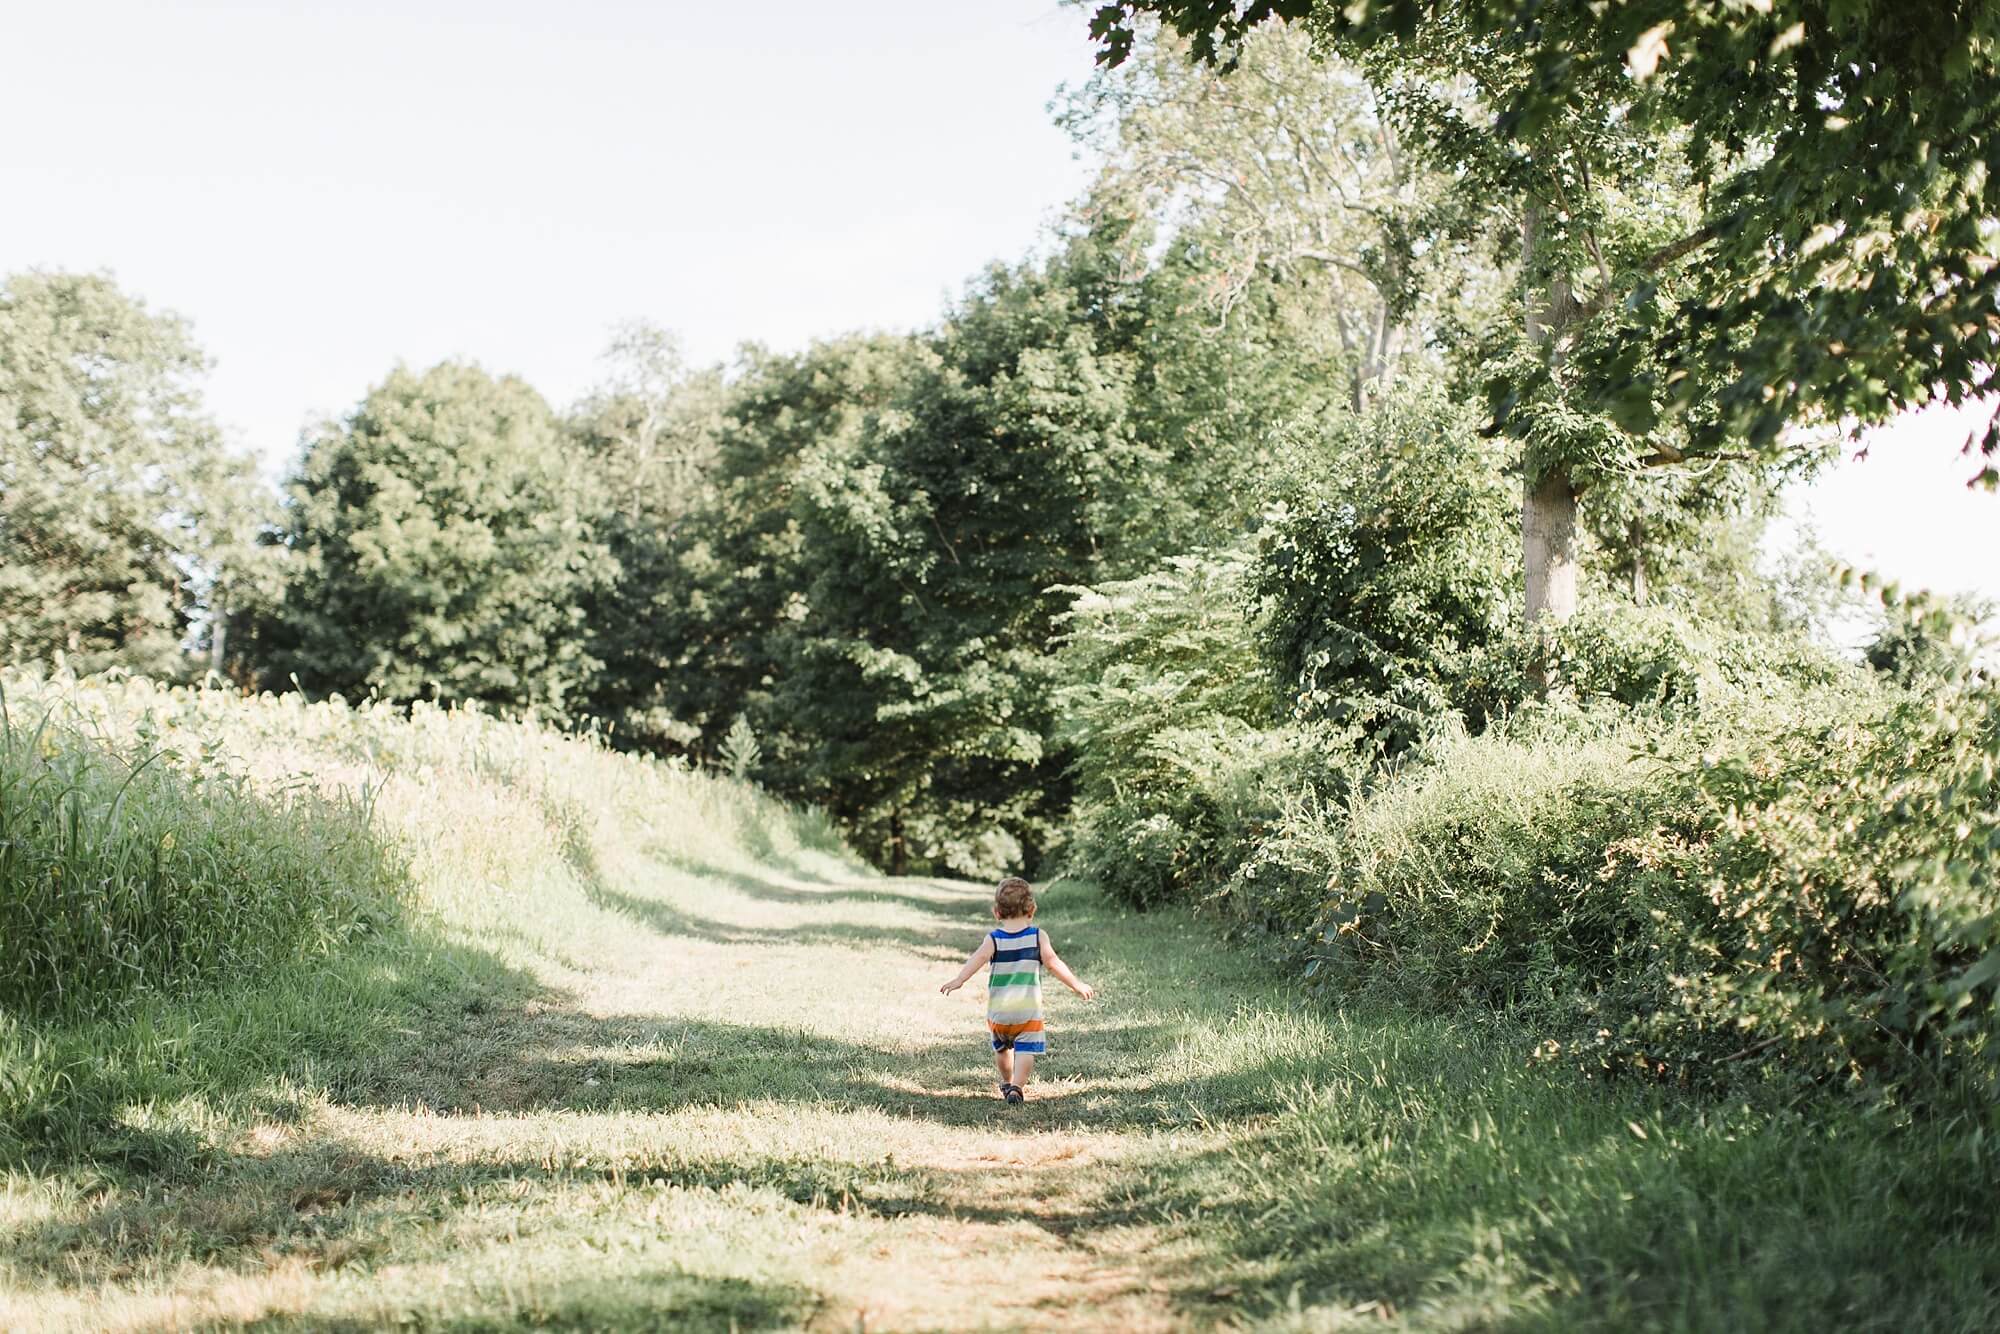
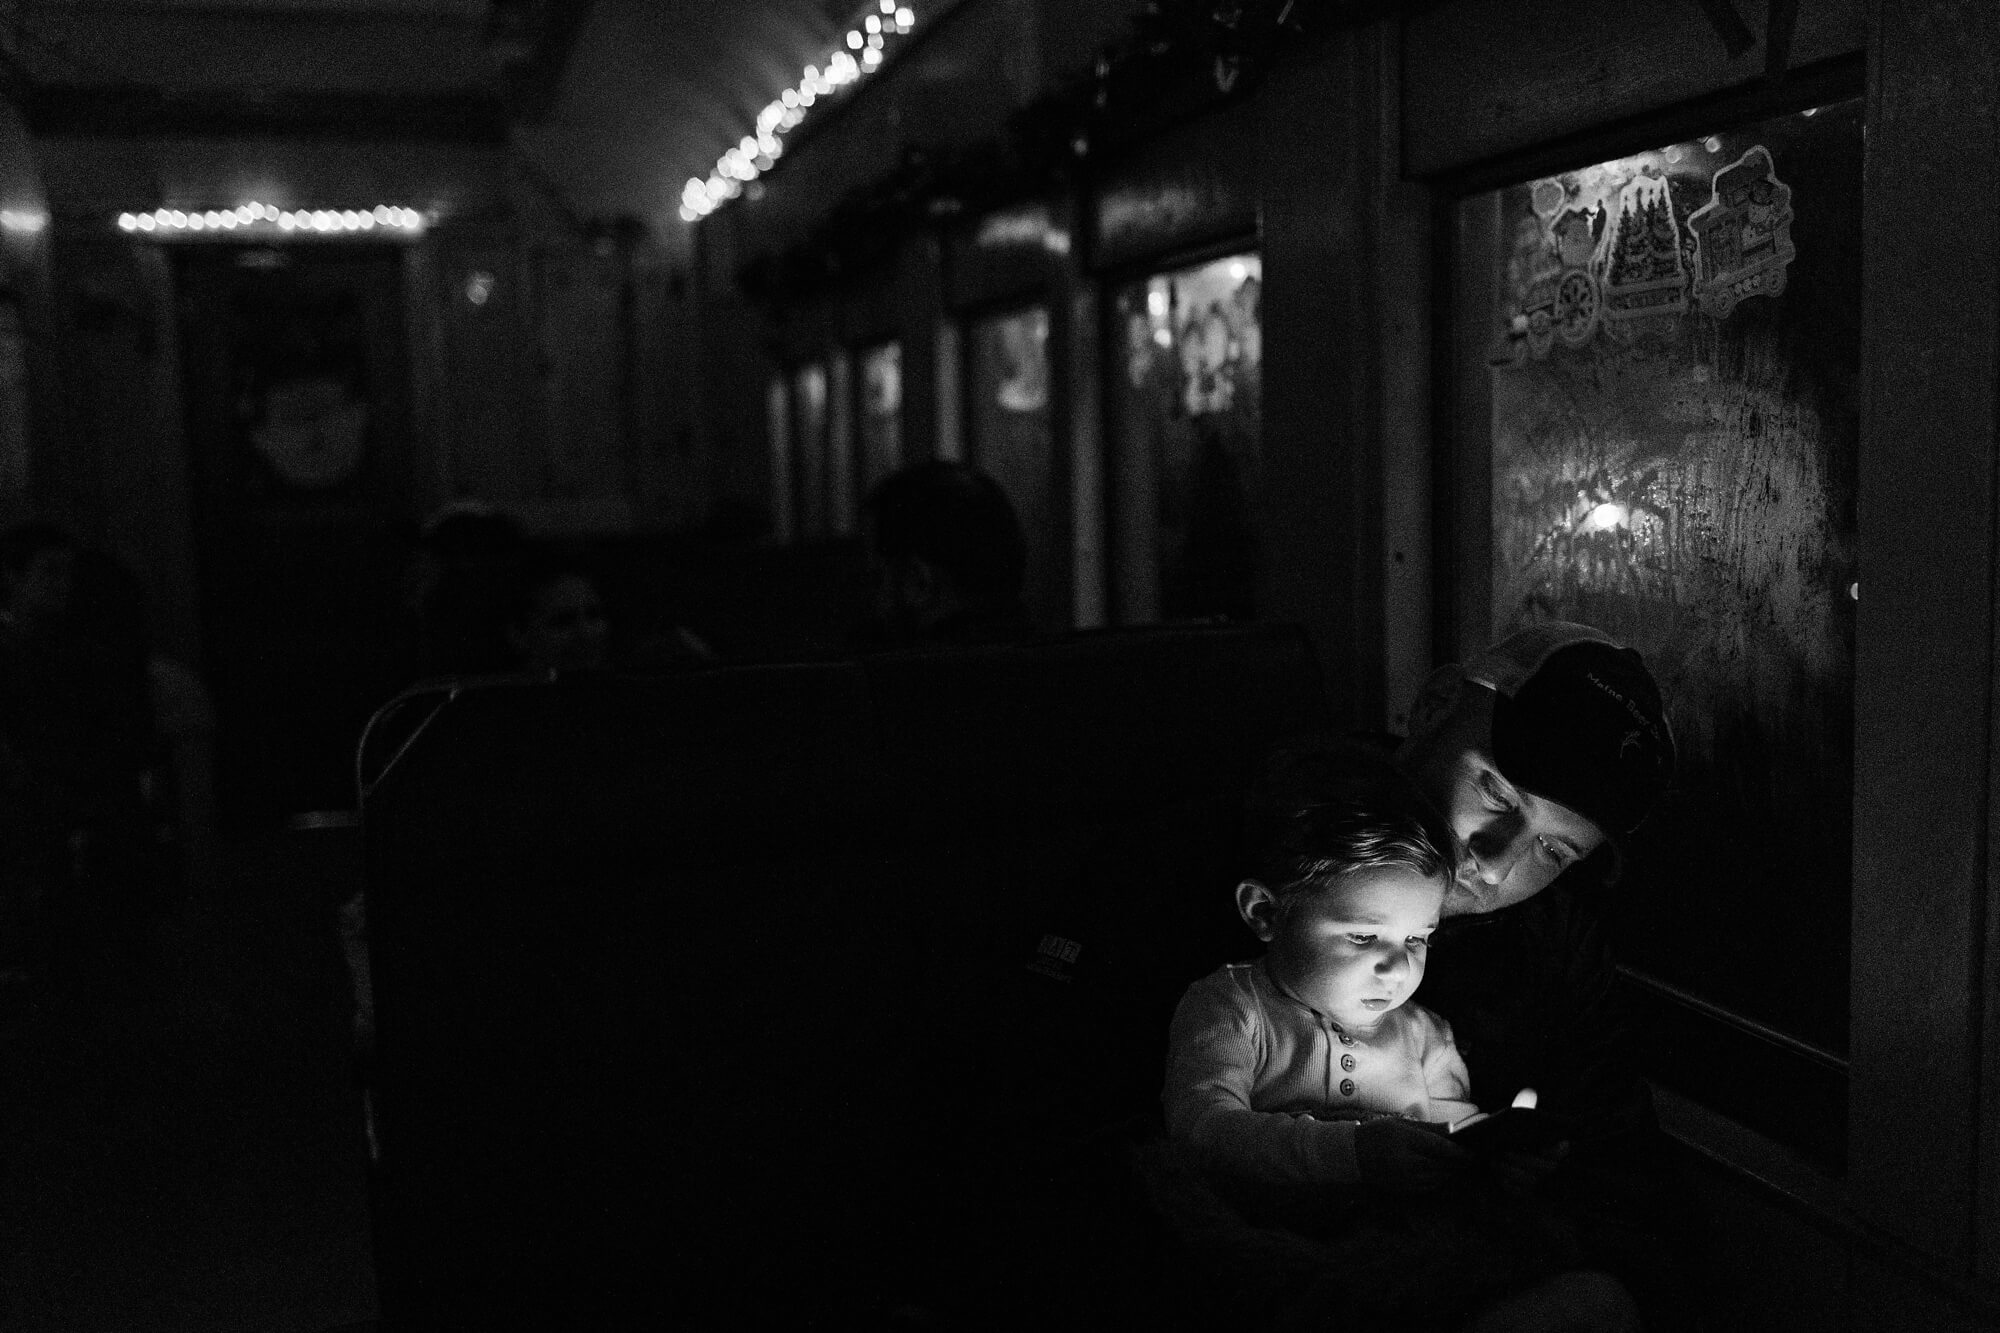
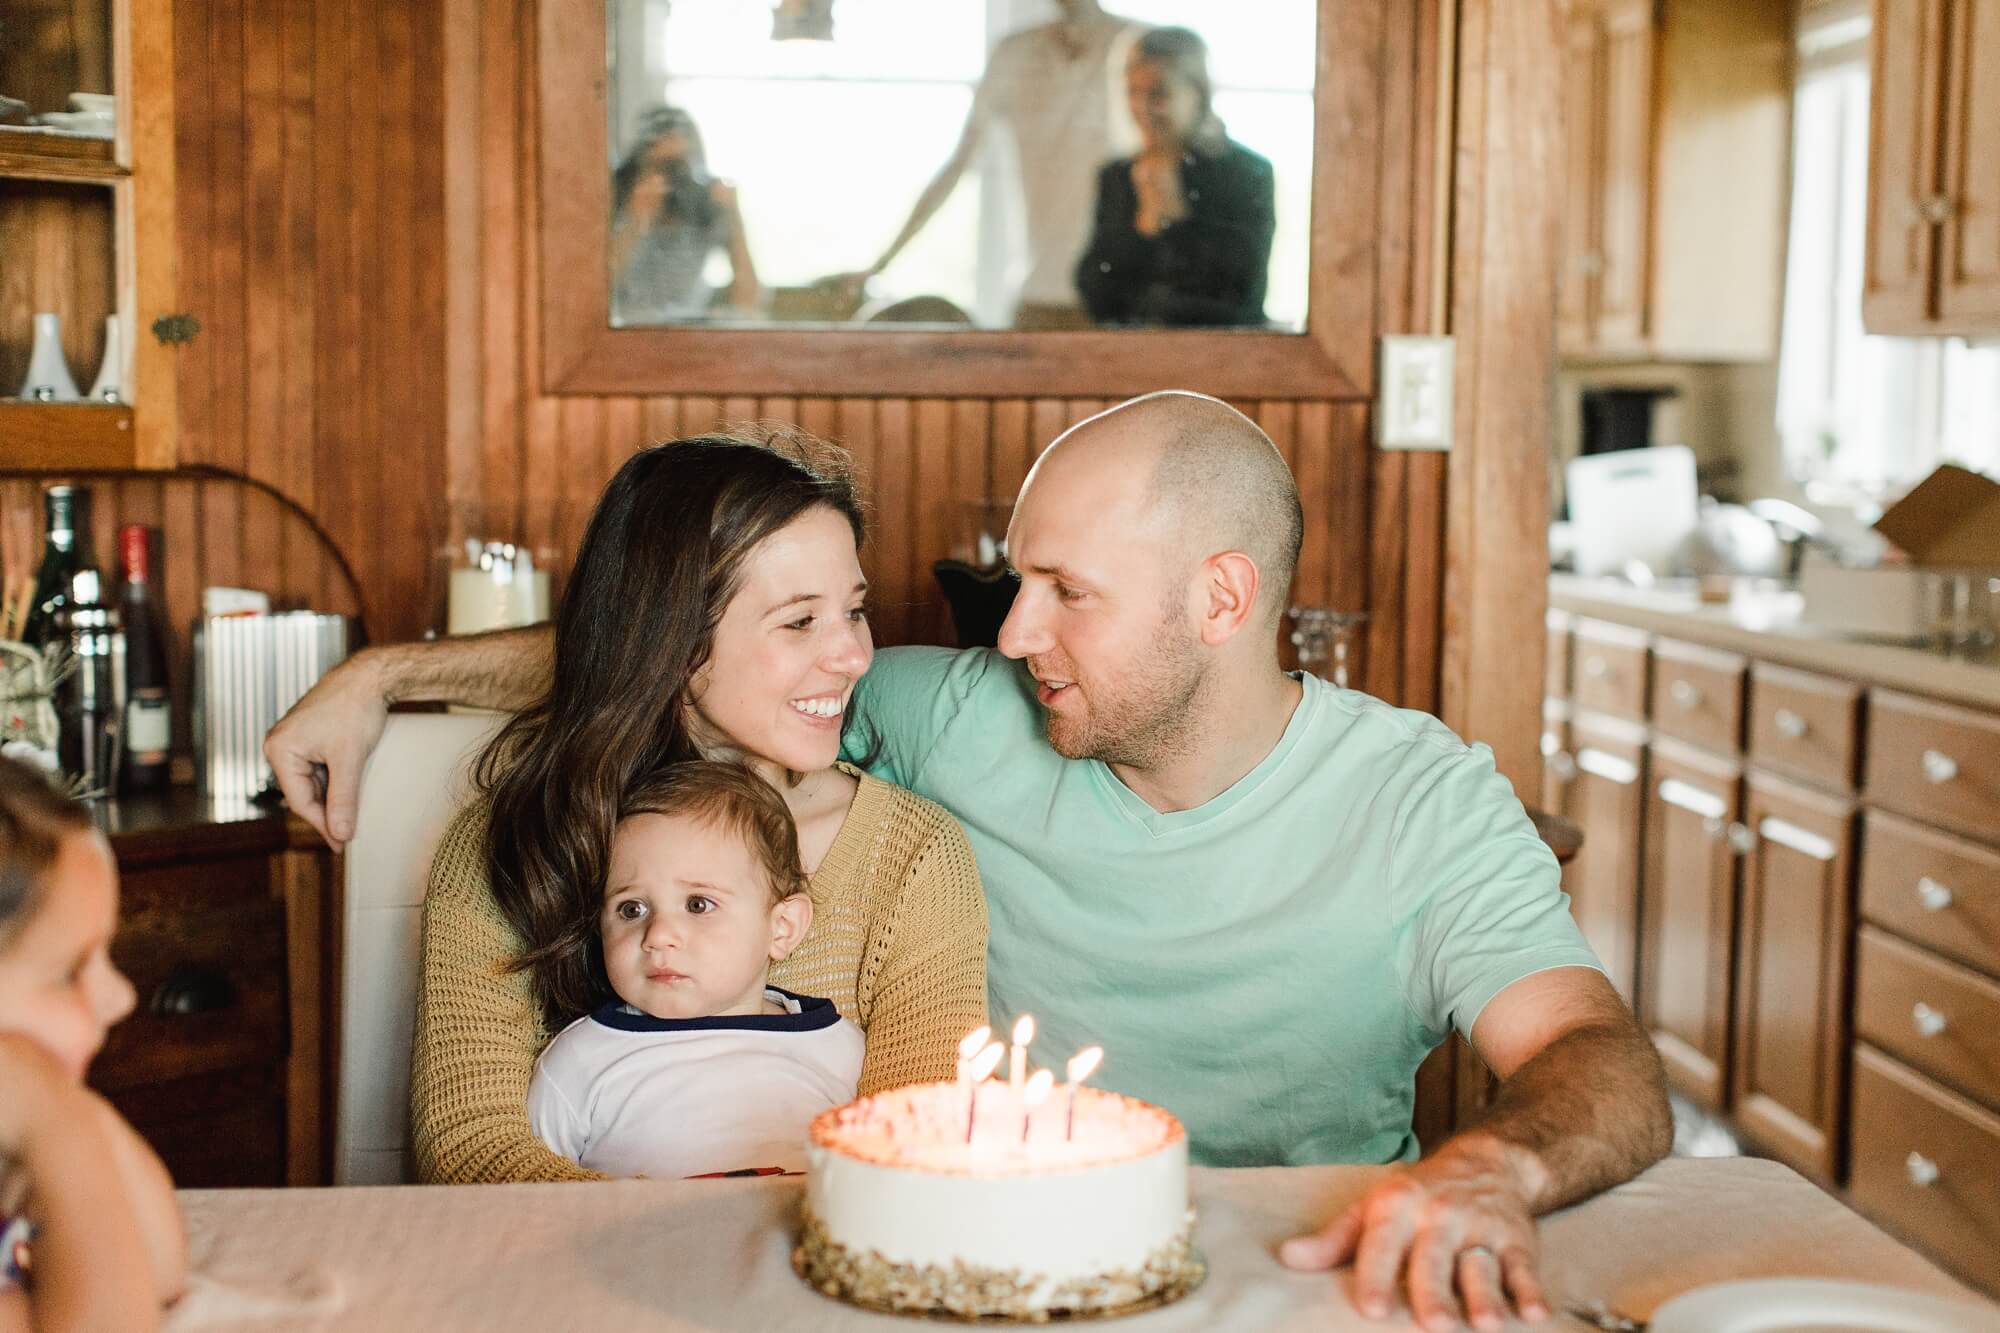
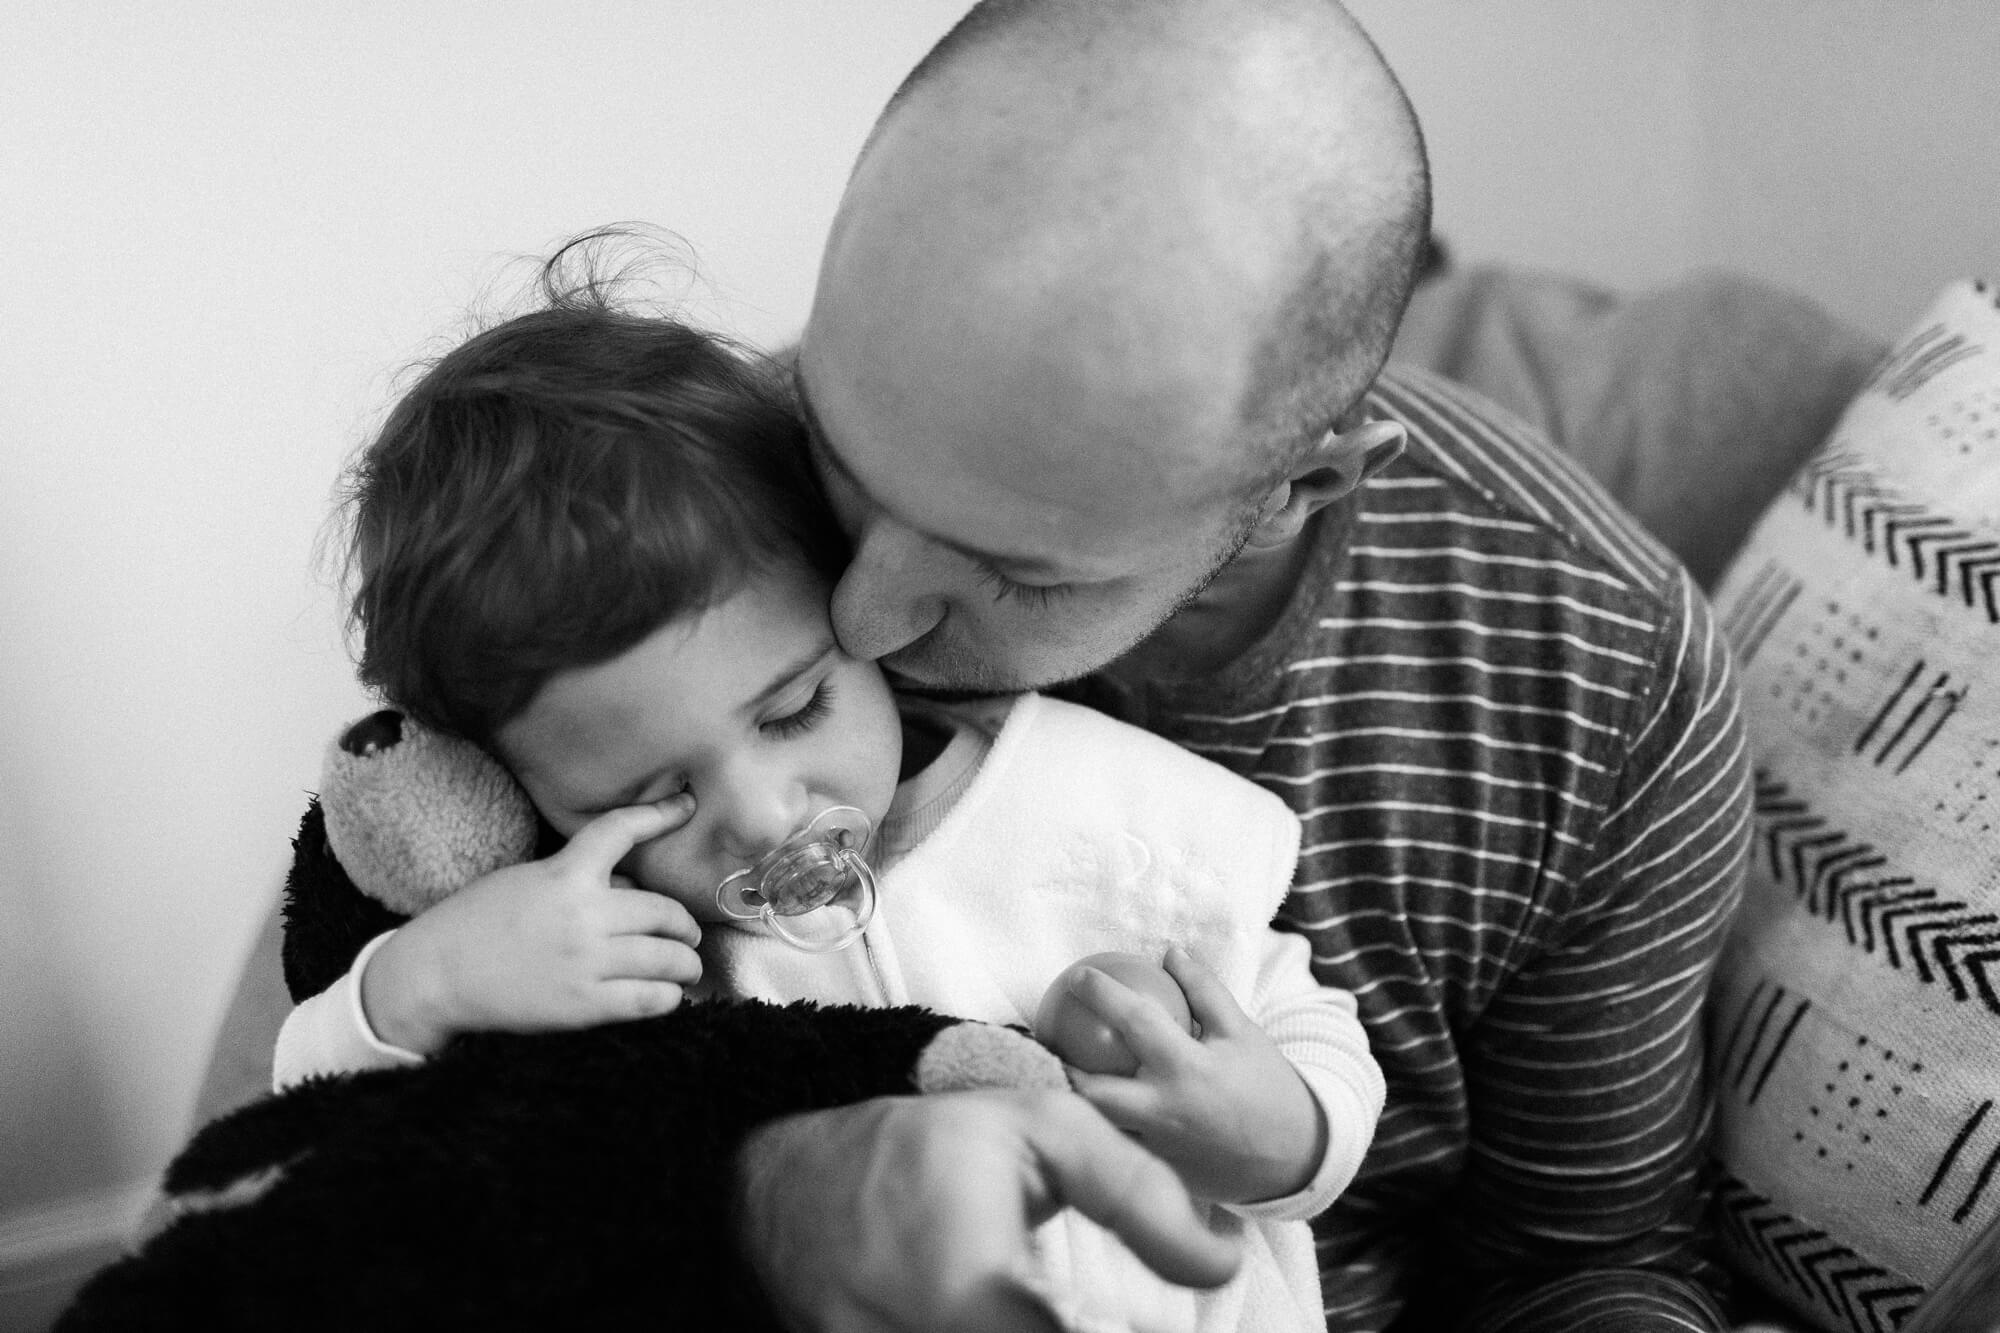
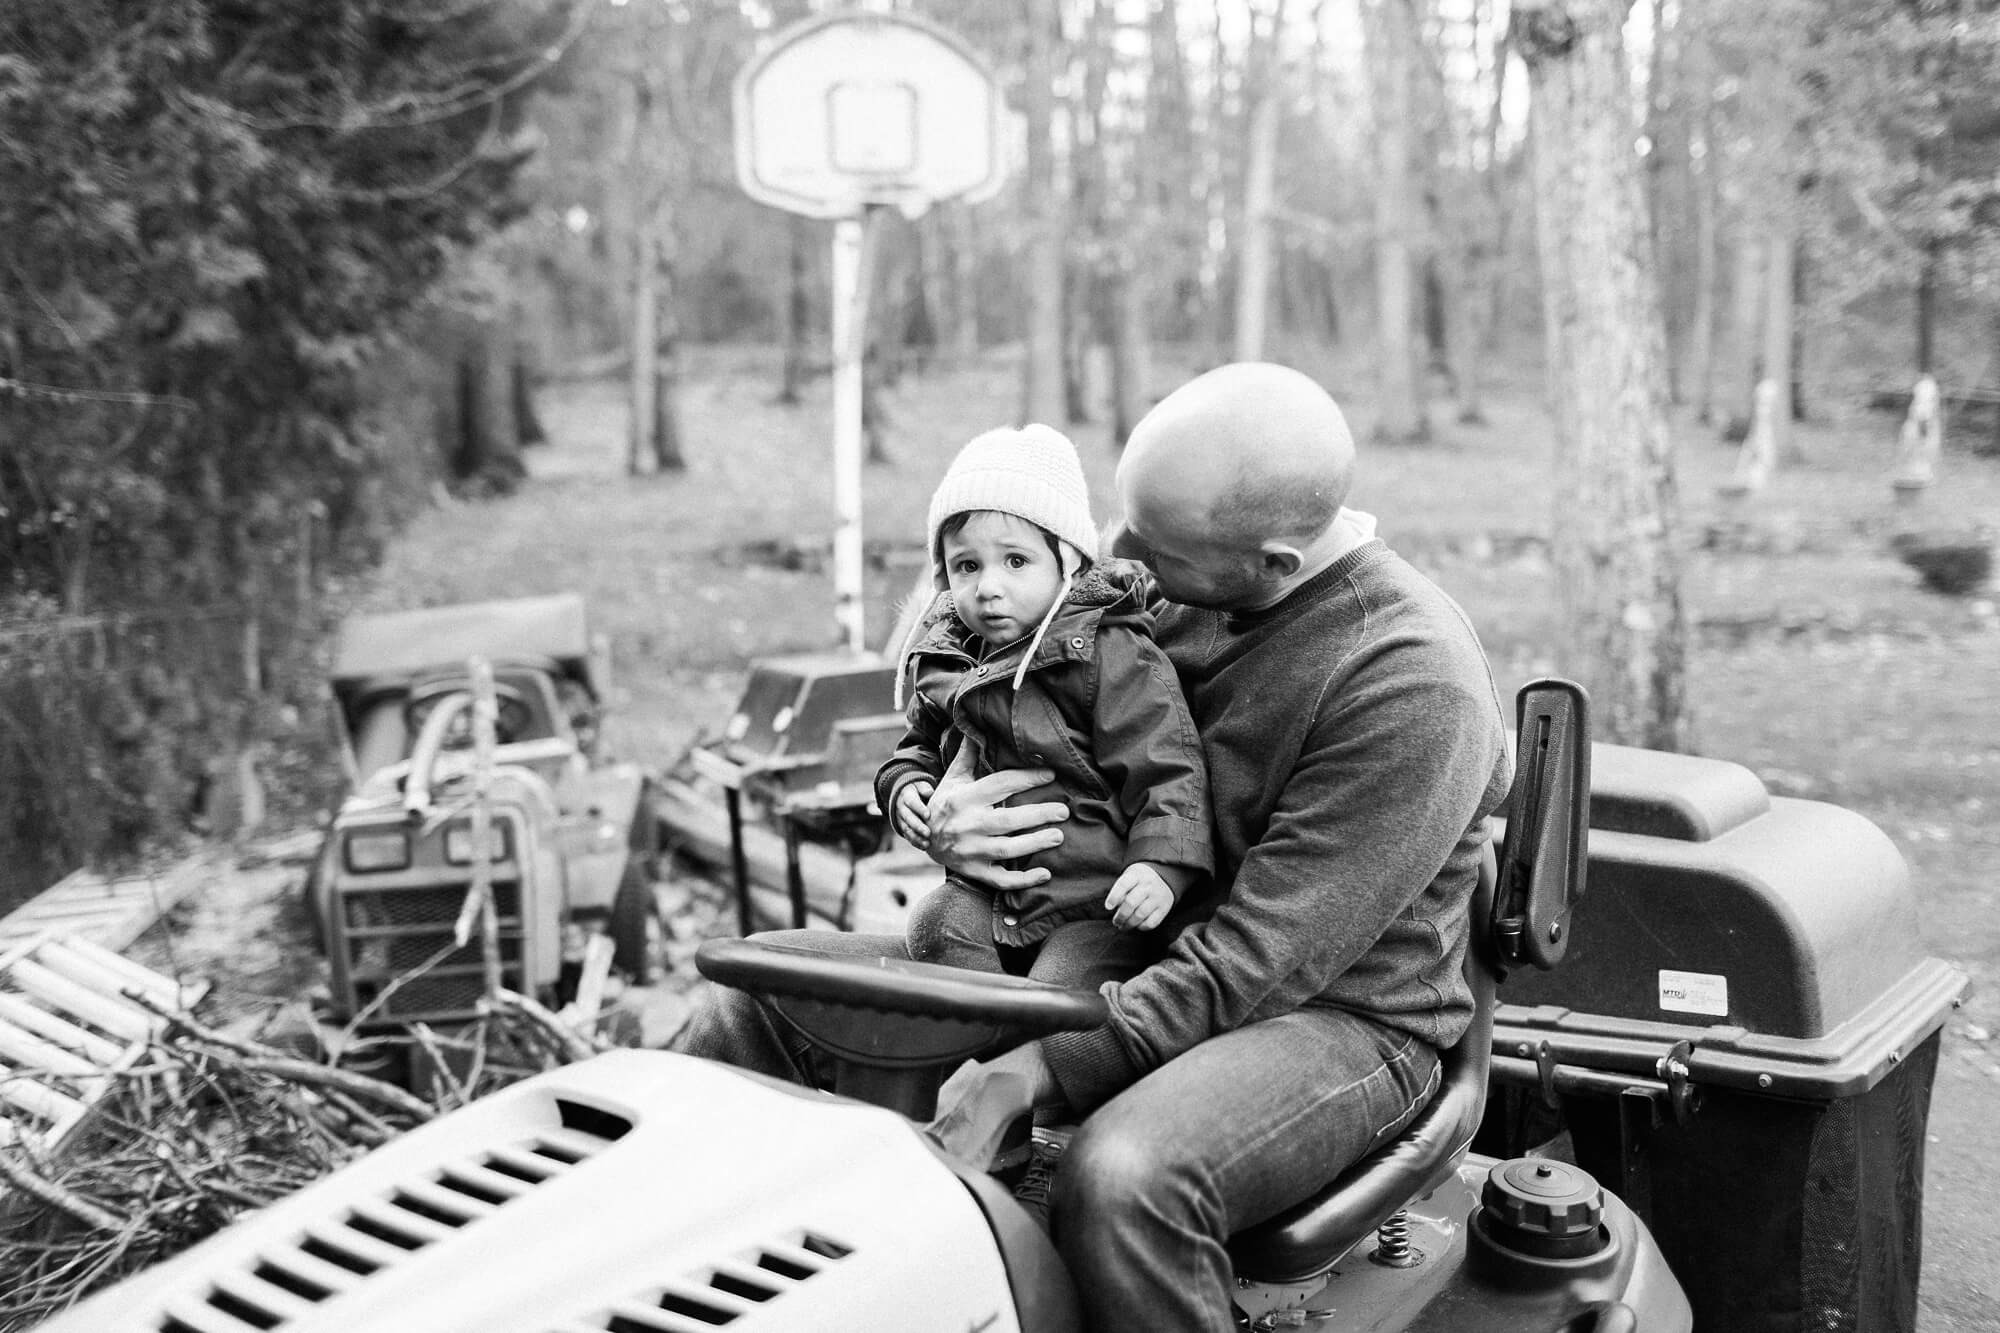
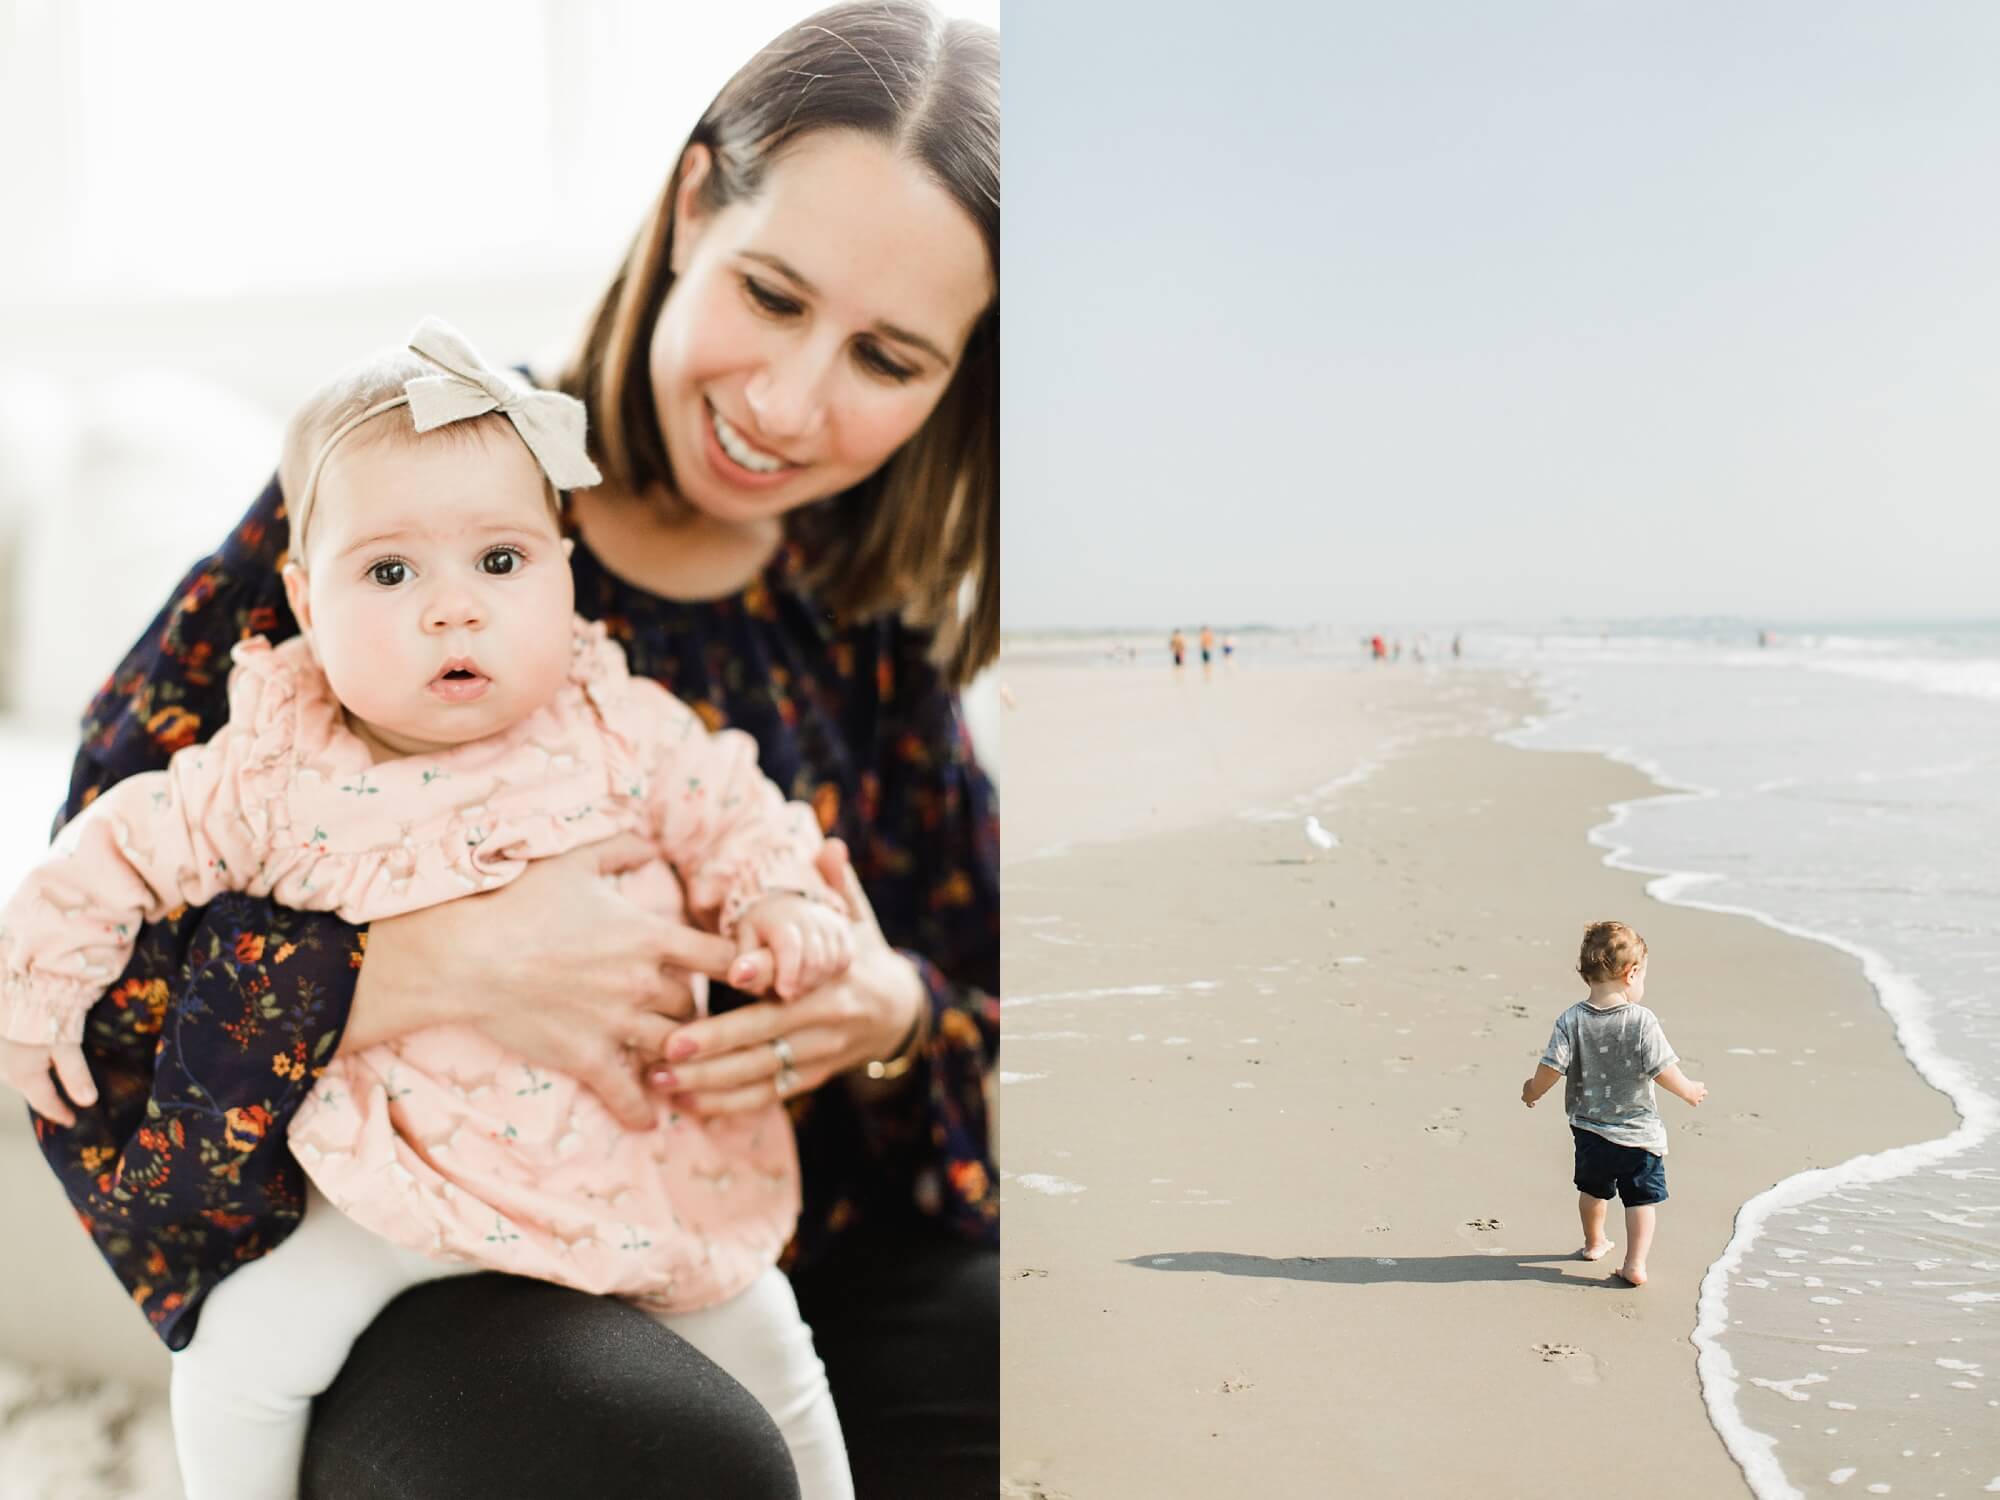
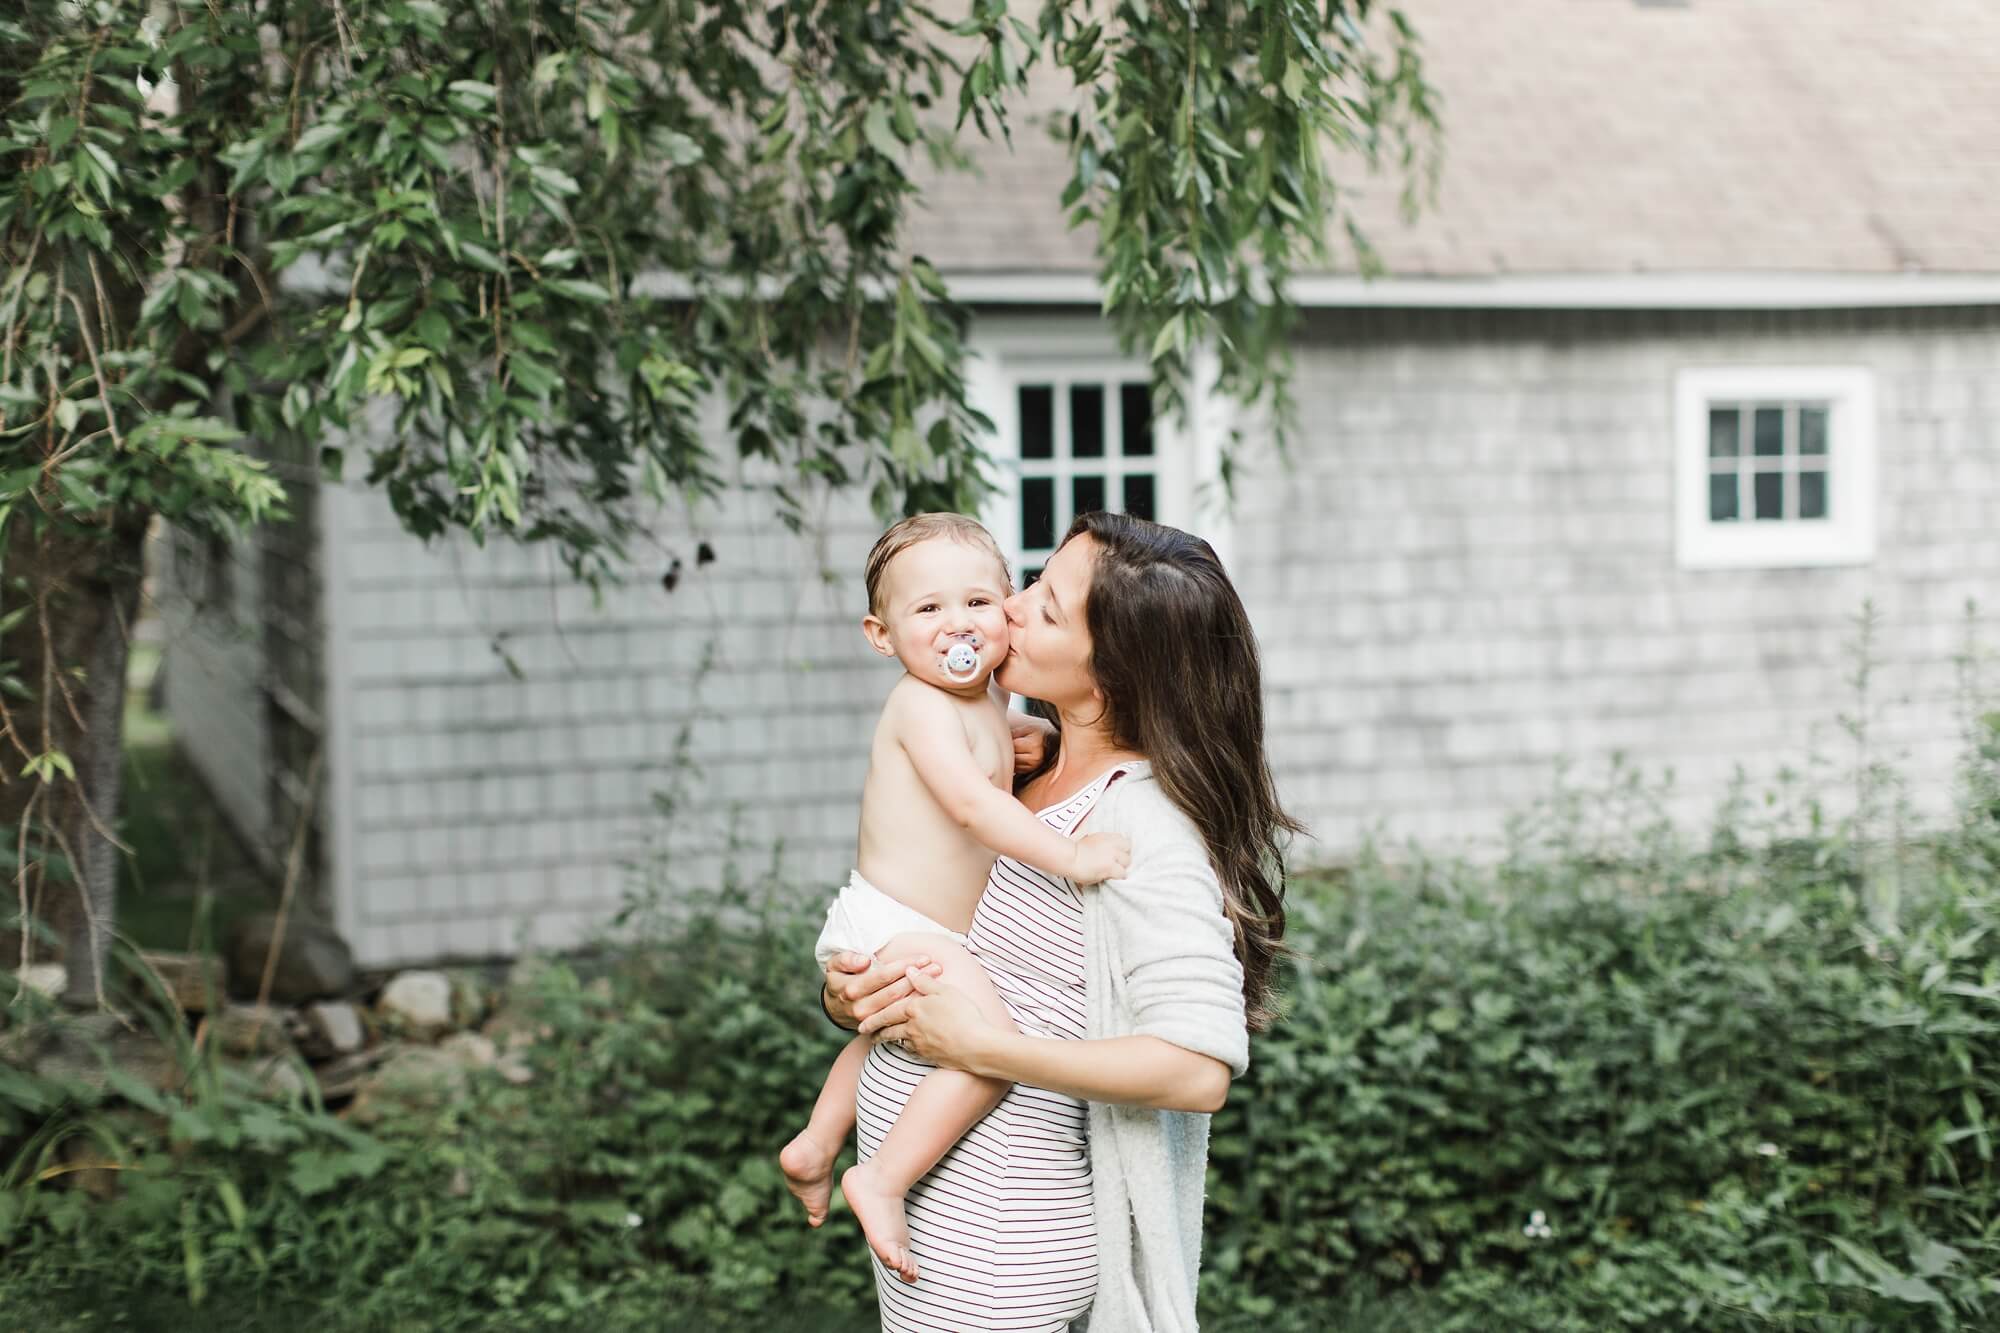
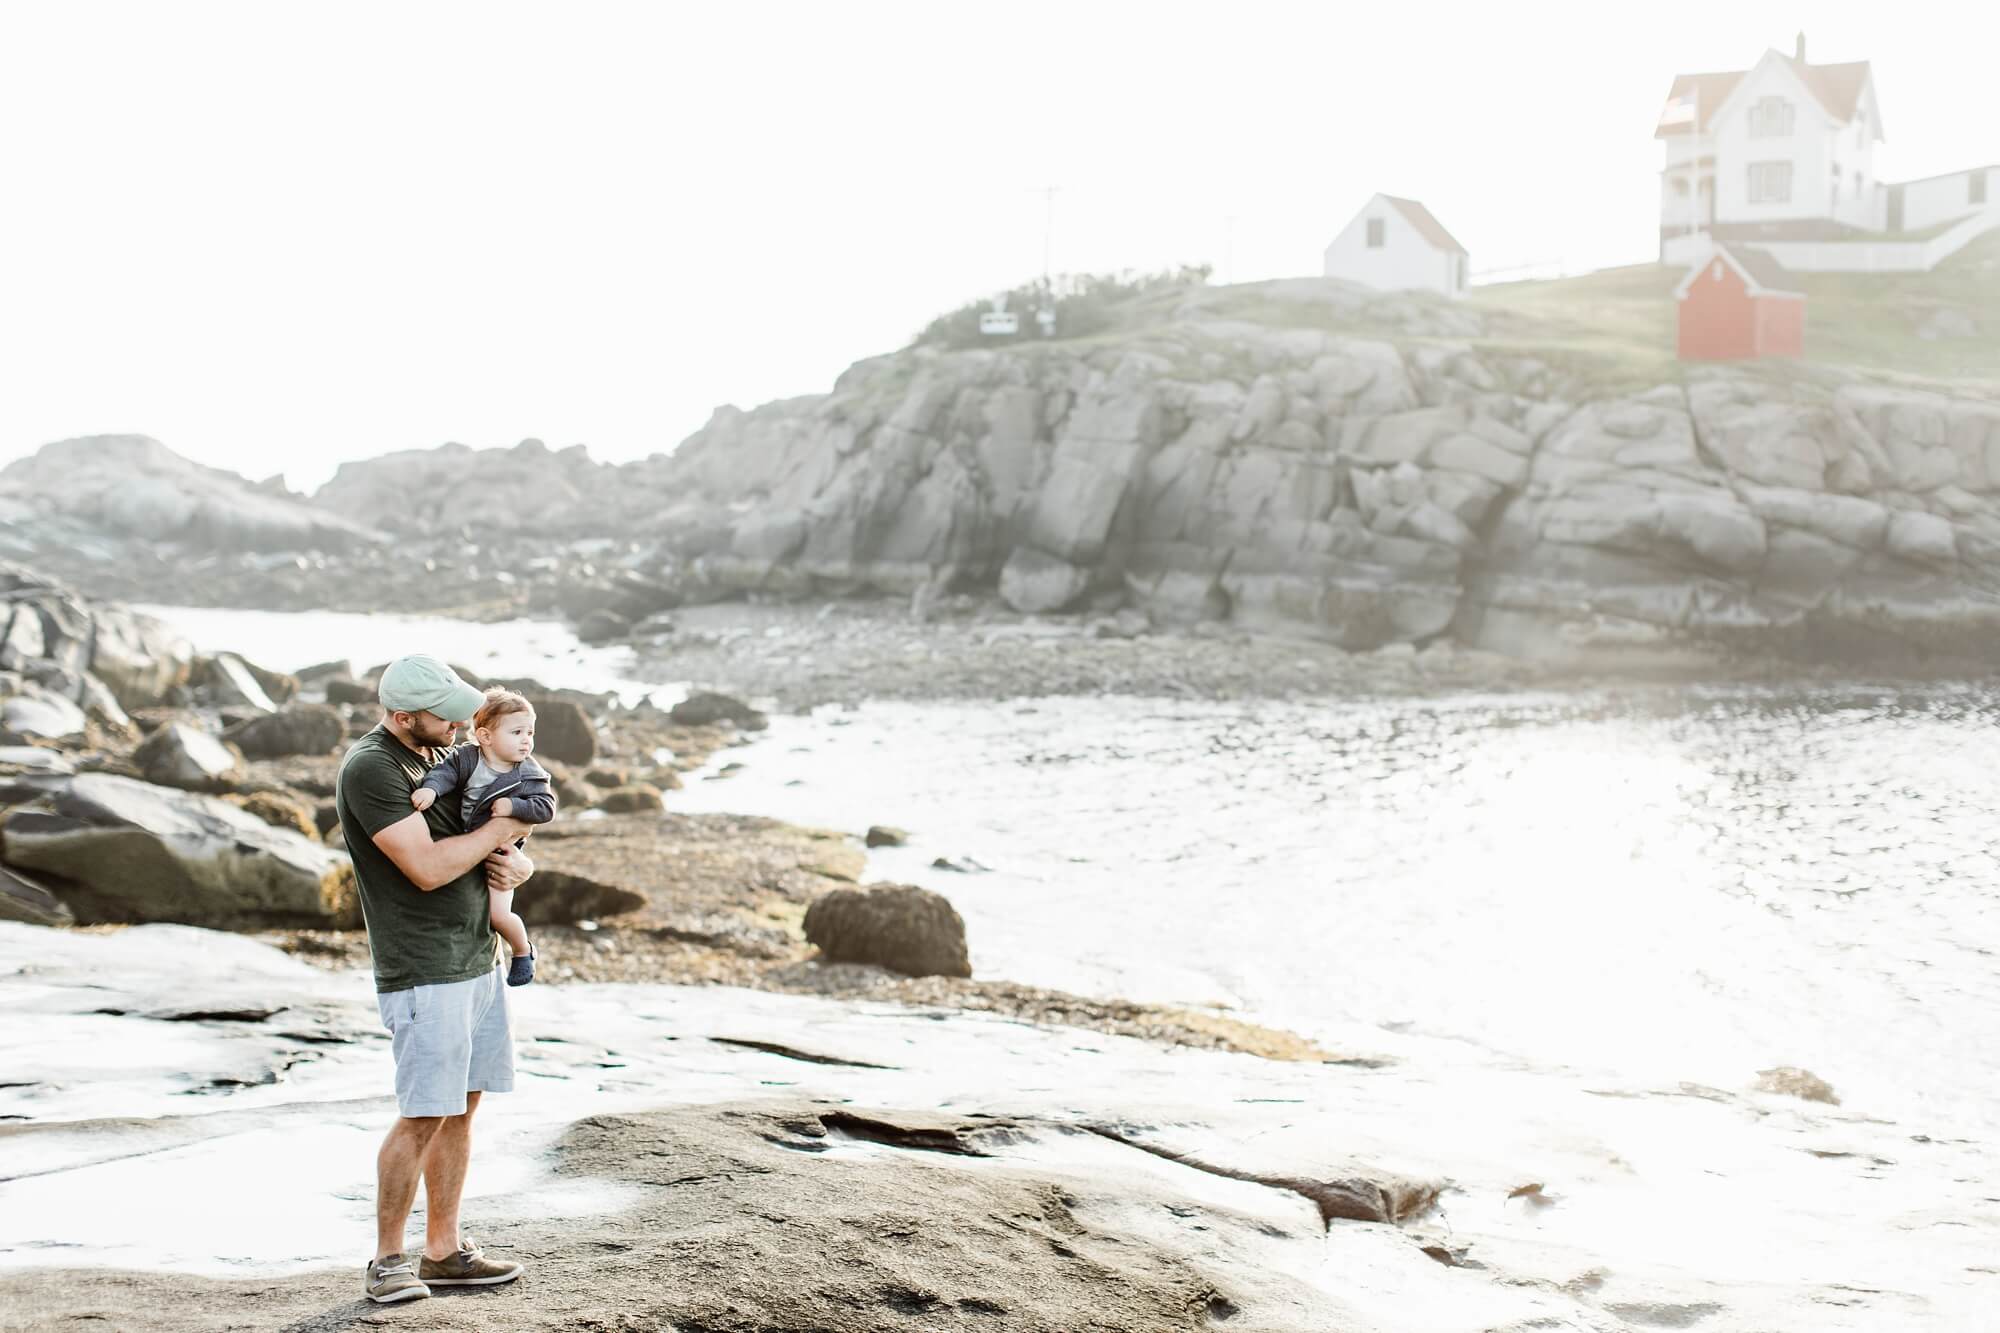
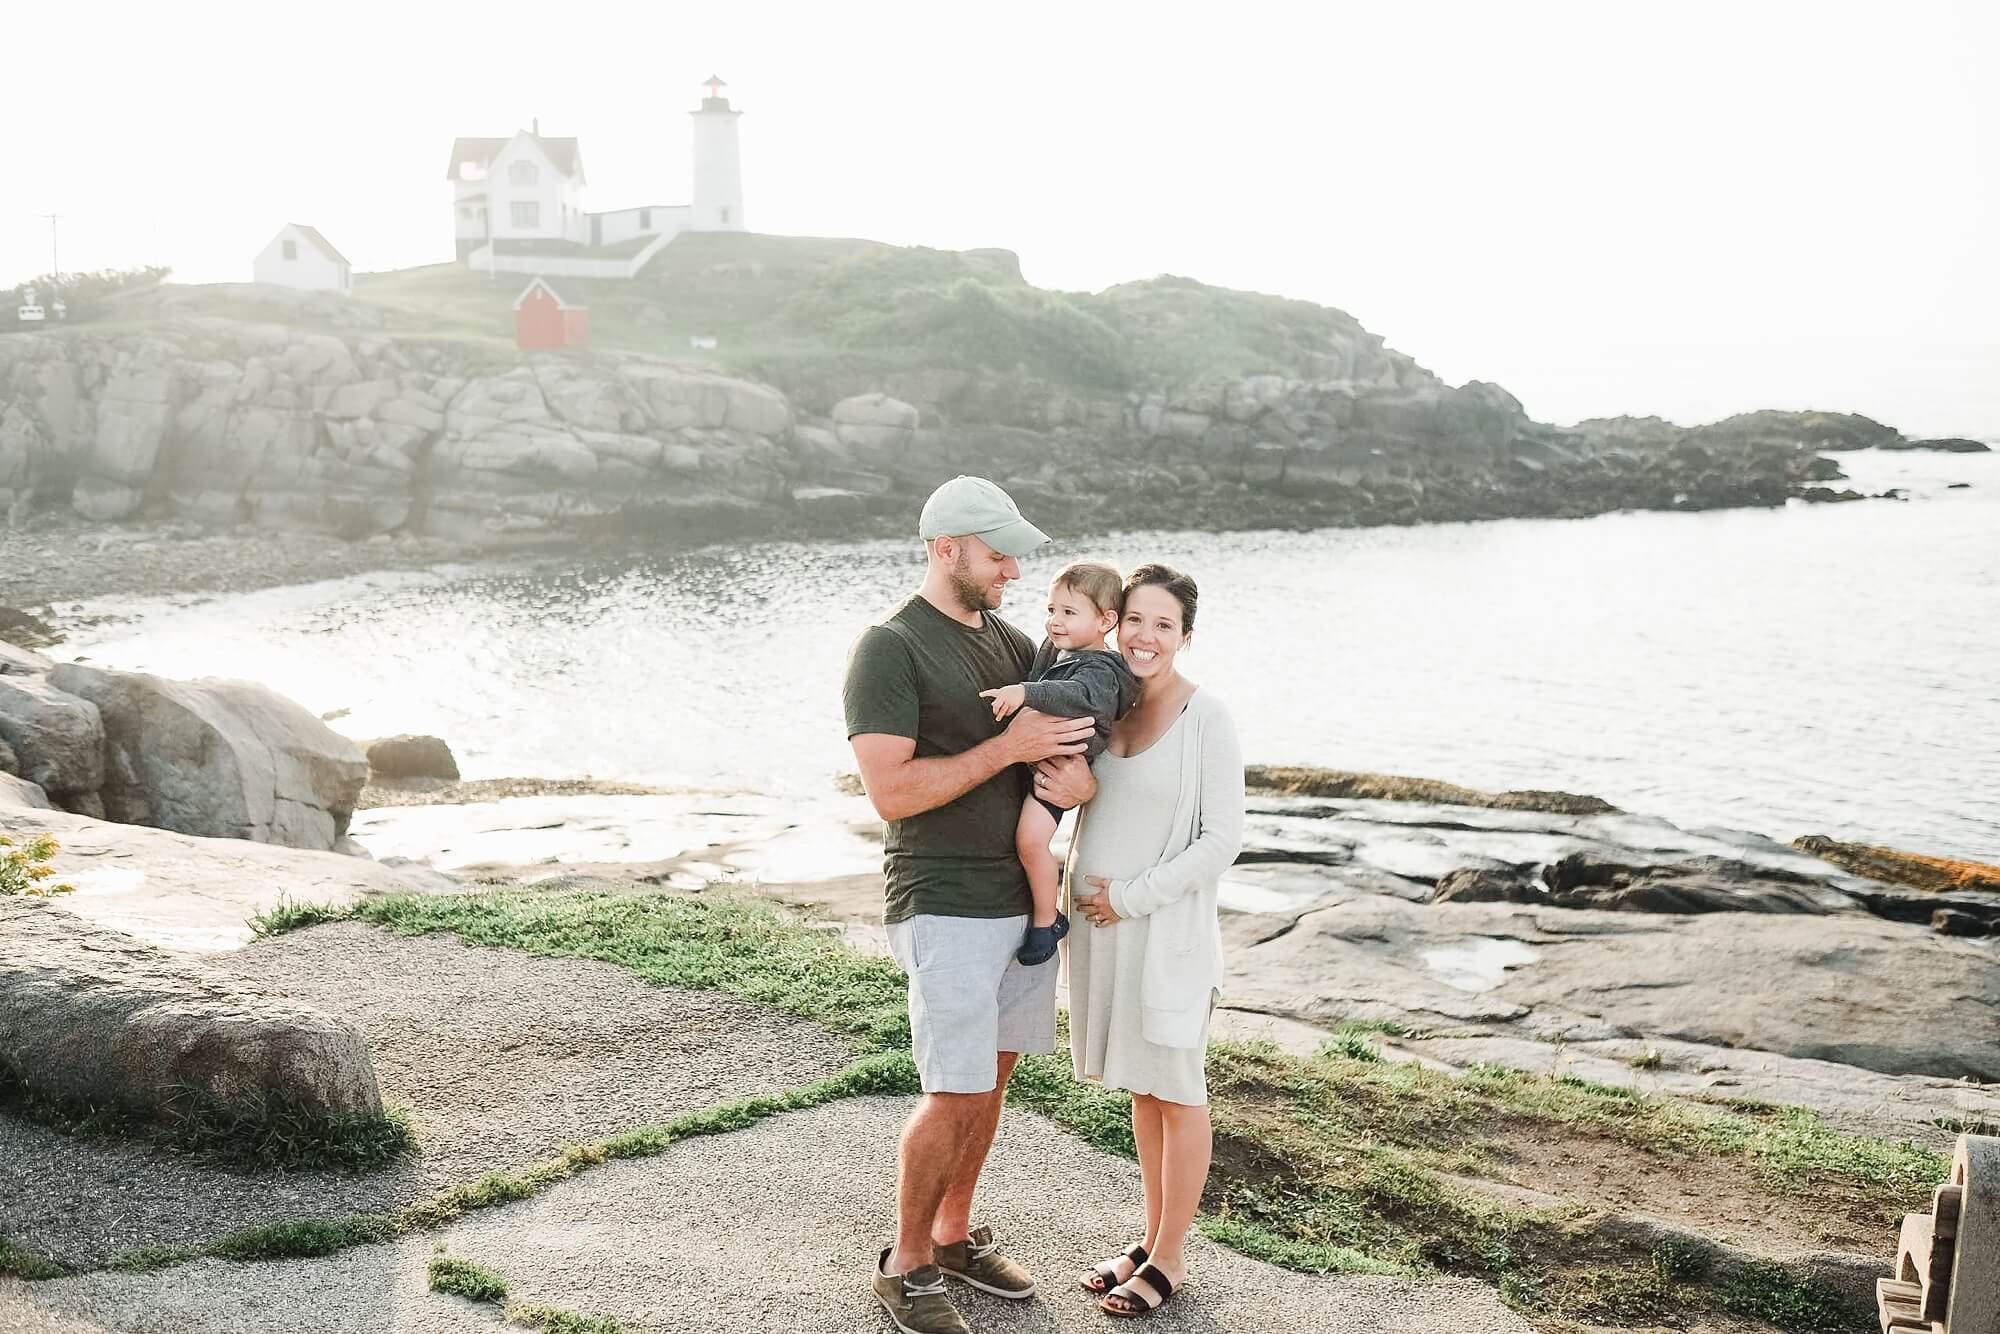
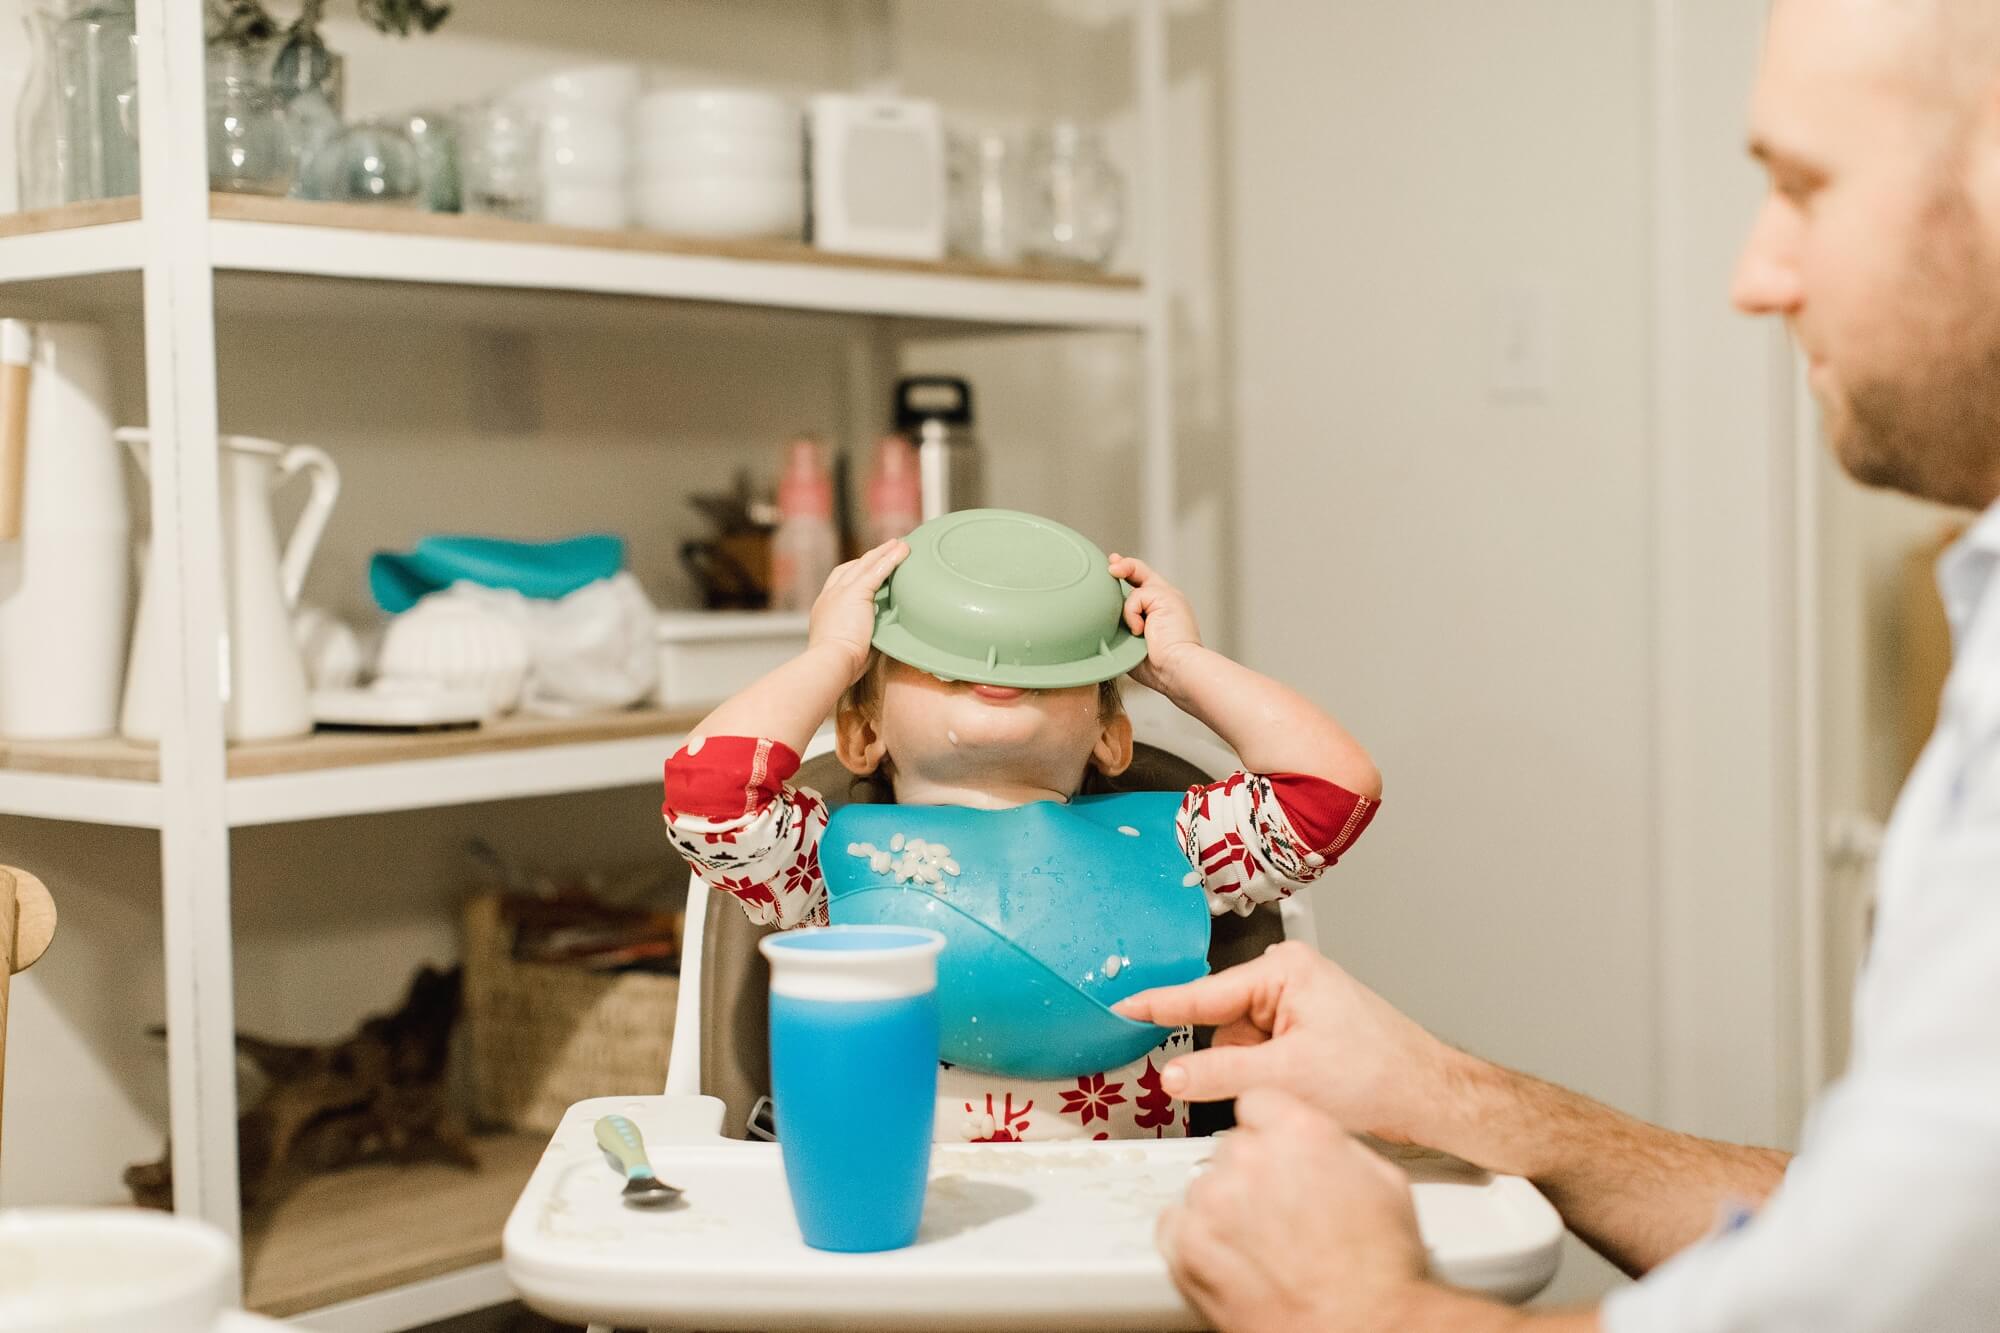
It’s a long process but the gratification felt while holding our 2017 hardcover linen book with my loves gracing the pages is so worth it. Since no blog post is ever short of images, below are some of my favorite personal photographs captured in 2017. Extended family included. 🙂 I’m already itching to share my 2018 images but I (and you) will just have to wait.


Your email is never published or shared. Required fields are marked *